-
Riding Schooling and Training
-
Health and Veterinary
-
Management
-
Mind Matters
-
Buying and Selling
-
Insurance Advice
FAQs


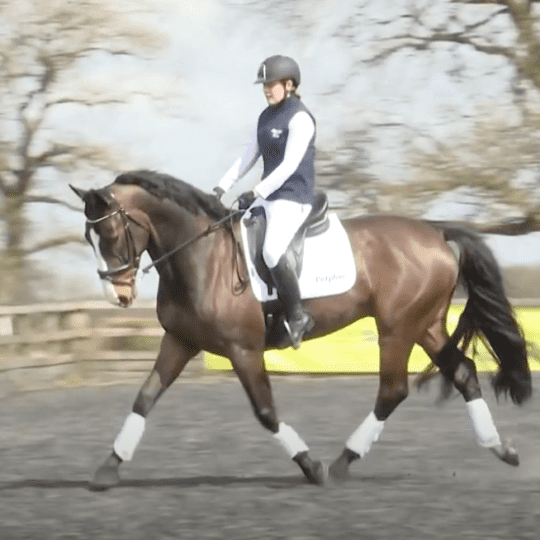
Dressage dynamo Michael Eilberg shows you how to channel your horse’s energy into your best work yet
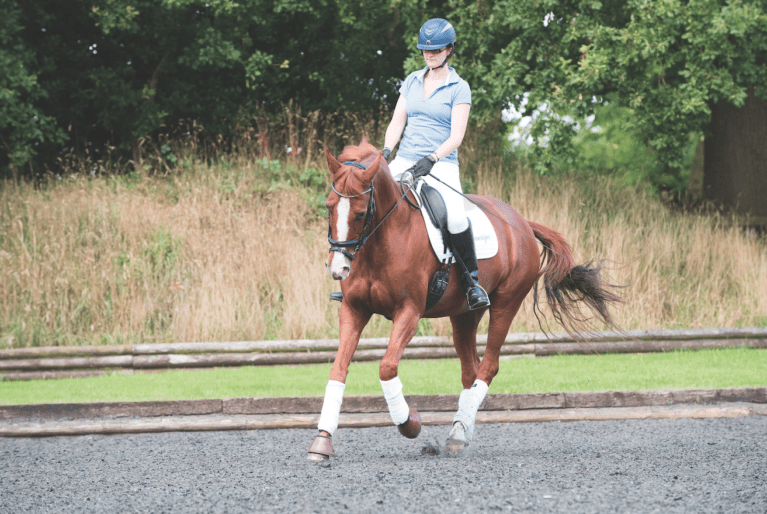
Dressage is a balancing act and never more so than when riding a sensitive horse. They require you to keep your channels of communication open and clear, and you’ll have to override your own natural instincts occasionally. The pay-off, though, is worth it – sensitive horses are often capable of offering up brilliant work and they help you to hold yourself accountable for your aids, as they’ll respond to anything you ask – whether or not you’re asking the right question.
I’ll show you how to start your horse’s schooling session off on a great note and share three simple exercises for putting the pieces of the puzzle together, so that you can start to reap the rewards of his responsiveness.
The rule of three
When I get on a horse, I look to establish these three qualities in this order…
- Balance
- Impulsion
- Relaxation
On the down-low
There should be two distinct phases to your warm-up. The first phase rudimentary – you use it to get your horse moving, to ease his muscles into work, and to check that he’s comfortable and happy. The second phase is when you should start to assess how your horse is moving and what you can do to improve it. This is when you make your game-plan for your schooling session.
It’s quite common at this stage to find that your horse is rushing a little bit without engaging his hindquarters, either because he’s naturally forward-going or to evade working in a correct outline. This can cause problems early on in your ride, as it’s natural to react by trying to slow his stride down. By doing this, though, you’ll only succeed in shortening his stride and lessening his ground cover. Instead, ride him forwards. Because his movement is already quite busy, riding him forward will encourage him to lengthen his stride and begin to stretch over his topline. This will create swing and reach in his movement and, at that point, you can ask for a decrease in speed without sacrificing the activity of his hindquarters.
Top tip – The transition from your warm-up to your actual schooling session should be tackled in 10% increments – ride the trot 10% more forward, or ask for 10% more roundness or 10% more angle in the shoulder-fore. This circumvents an argument if you try to make an abrupt change from one to the other
Problem solving
Fixing artificial stretch
There’s a distinctive difference between encouraging your horse to stretch over his topline from active hindquarters and letting your horse put his nose on the floor and trot around on the forehand. To combat this, think about starting the stretch with your horse’s neck more horizontal, rather than stretching dramatically down. In trot, put your horse onto a big circle and transition from walk to trot, asking for a little bit of shoulder-fore into the transition. This will bring his inside hindleg further underneath him, which will, in turn, bring his front end up. Continue to ask for forward energy and activity, and ride several trot–walk–trot transitions in this manner. When you start to feel that swing, then go back to asking for long-and-low, as his quarters will be active enough to support his front end.
Responsible riding
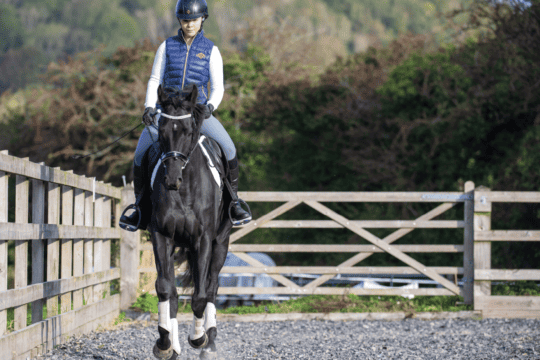
I always say to my students that the first thing I want is for them to ride nicely. That means they should have a balanced position with a good seat, kind hands and gentle aids – nothing rough and nothing abrupt. Once you’ve learned to ride nicely, you can start to learn to ride effectively. To be a little bit more obvious with your aids, sometimes your position has to be a bit less pretty, but you have to learn the rules before you can break them.
To be a truly effective rider, your hands, seat and legs must be having a constant conversation, and they must each make an equal contribution. You have to be able to speak to your horse through these contact points. This is when bravery becomes so important – if you’re worried about putting your leg on or picking up a bit of contact, then you’re disrupting the cycle of communication. Any energy that you create from your horse’s hindquarters needs to be able to be half-halted by your seat, directed by your hand, then added to with your leg, and so the cycle continues. If you haven’t got that cycle, then you become complacent and end up settling into a gait that’s probably only going to earn you a score of 65% at best. Then it doesn’t matter how well you can do a shoulder-in or how well you can half-pass, because if the basic gait is only worth 6.5 then the movement can also only be worth that much. Brave riding is rewarded with better marks.
When you take the gait to the next level, you may find the movements are initially more challenging because you’ve got more power and balance to deal with. But you have to leave your comfort zone to be in a place where you can build upon your scores, your horse’s quality of movement and your level of riding.
Riding sensitive horses
Sensitive or young horses have their own – often creative – ways of dealing with external stimuli, so it’s important that, as a rider, you take control and lead the way. It’s okay for your horse to have a look at something that he’s not sure about, but he can’t be allowed to leave the situation. If you ride confidently and positively, then you’ll positively influence your horse. If not, he’ll take control and boss you around, which means that if he makes the decision to get away from something he’s worried about, then you won’t have much say in the matter.
Top tip – Whatever you ask for, you mustn’t think of it as a big deal. If you’re applying your aids and already thinking, ‘this is going to push his buttons’, then it makes you ride cautiously. Your horse will pick up on this, wonder what you’re worried about and react accordingly. Have confidence in what you’re asking for – it’s the confidence itself that often produces the results!
Top tip – If your horse bucks or kicks out in response to your leg and you’ve ruled out any sort of physical pain, then this is a sure-fire sign that he’s behind the leg. A buck at the beginning of a schooling session is different, though, and is more likely to be the result of freshness or lack of focus.
Michael’s three-gear exercise
- Great for: Horses who back off in the corners
- How to ride it: Ride three distinct transitions at each of the three markers down the long side. These can be transitions within a gait or between gaits – as long as they’re very clear, they’ll do the trick. Be precise with your leg – if your horse takes a long time to respond or argues with your aids, then this tells you that he’s behind your leg. Carry a schooling whip so that you can tickle his hindleg to encourage him to activate it and step underneath himself. Repeat the exercise on both reins.
- How it helps: It’s a common fault for horses to move forward out of the corner and down the long side, then back off as they approach the next corner, because they know they’ll be asked to slow down or collect and, as such, anticipate the transition. This exercise gets your horse listening to your aids and will minimise anticipation.
Michael’s polework secret
- Great for: Horses who tend to fall on the forehand
- How to ride it: Set up four trot poles approximately 1.2 metres apart down the long side of the school and work them into your schooling session. Trot through the poles, then ask for a few strides of shoulder-in before straightening your horse up again before the turn. Ride the poles, the trot and the shoulder-in in various combinations to encourage hindleg activity throughout the exercise. Once you and your horse have got the hang of them, add two more poles and raise alternate ends of the middle four.
- How it helps: Raised poles encourage your horse to move forward and seek them, while serving to rotate his pelvis and increase engagement. Riding this exercise with a steady contact helps him to shift his weight to his hindquarters. The raised poles also increase your control, speed up your reaction time and help to develop a correct, natural outline.
Michael’s medium spiral tip
- Great for: Keeping a horse forward during medium gaits
- How to ride it: Establish working canter on a 20-metre circle. Gradually spiral in until you’re working on a 10-metre circle, keeping your horse moving freely forward by maintaining the conversation with your leg. Then spiral back out, asking him to extend into medium canter. Maintain the medium canter on the 20-metre circle, then transition back to working canter and repeat the exercise.
- How it helps: A forward-going horse is often a forward-thinking horse and he may respond to your leg by offering something more complex, such as a flying change. This exercise will help you to simplify the medium canter while encouraging balance and responsiveness.
Your Comments
Related Articles
Newsletter Sign-up

Subscribe
Latest Issue
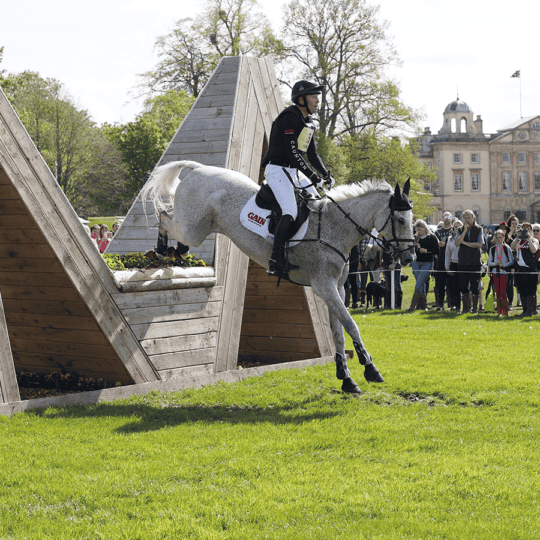
Brilliant Badminton
Added 22nd April, 2024
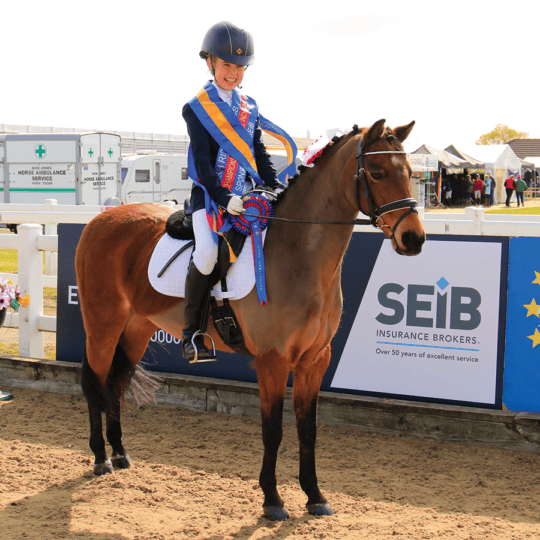
BRC secures SEIB sponsorship for further two years
Added 5th April, 2024
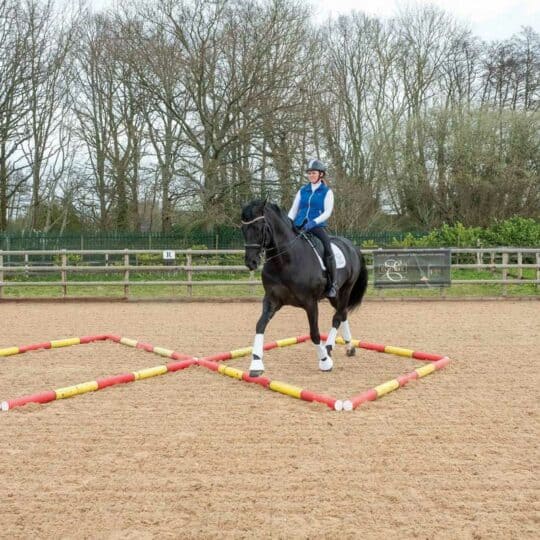
Tania Grantham’s diamond pole layout exercise
Added 27th October, 2022
Dressage to music – prelim level
Added 28th June, 2022