-
Riding Schooling and Training
-
Health and Veterinary
-
Management
-
Mind Matters
-
Buying and Selling
-
Insurance Advice
FAQs


Featured Professional

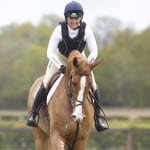
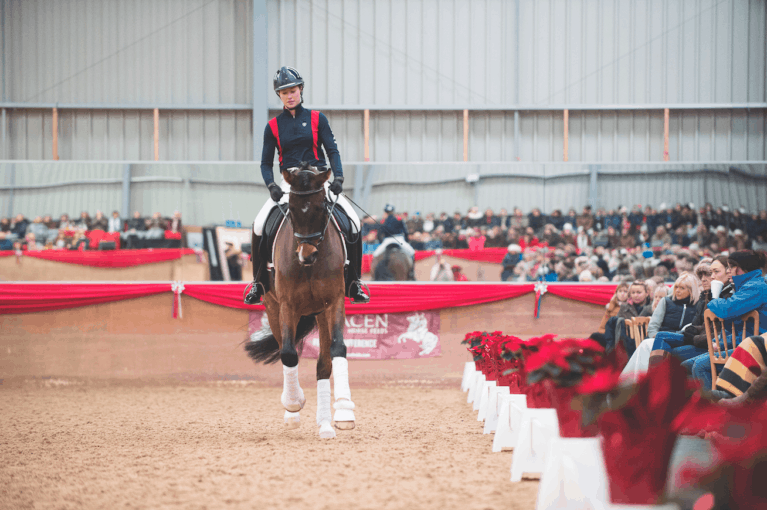
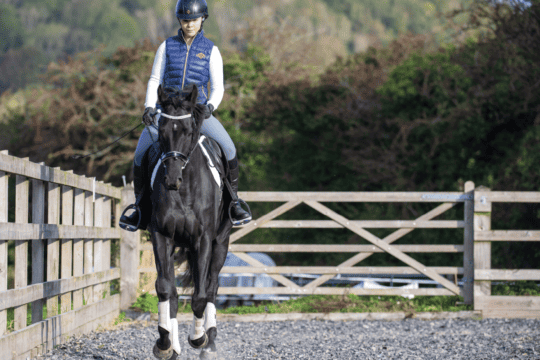
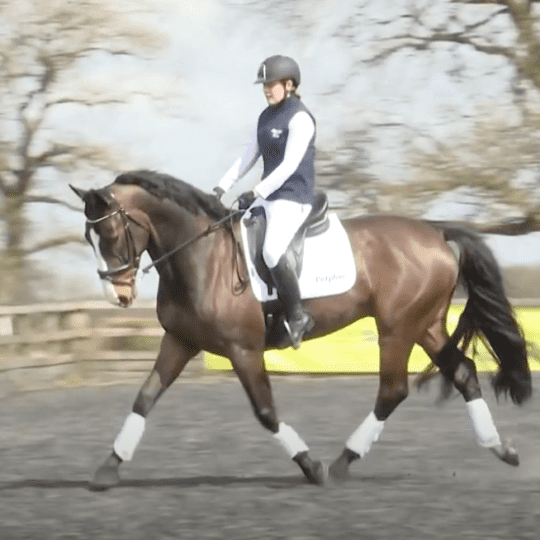
Bringing on a young horse can be a daunting prospect. In our new series, dressage superstar Carl Hester shows you how to best navigate your horse’s formative years for future success
When schooling your own horse, it’s easy to get caught up in the idea that top riders are able to produce their horses without any major problems. This simply isn’t the case. Charlotte Dujardin and I have the same problems as anyone else with our young horses, it just happens at home where the cameras are off and people don’t see it! Equally, the ways we work to resolve them are achievable, no matter what level you’re riding at. Young horses grow, change, learn and develop at different rates, and you have to constantly re-evaluate how you approach their training as a result. The horse world is rife with conflicting opinions about how best to start a young horse’s formal education and, for the average rider, this can be overwhelming.
I work to identify my horses’ strengths and weaknesses early on so that I can structure schooling sessions around making the difficult things easier for them and developing the things they find naturally easy, all in a pressure-free learning environment. I’m a firm believer in short, sweet sessions – incorporating lots of transitions and gently introducing new concepts in a half-hour slot, before the horse gets tired and starts to shut down.
TOP TIP – I don’t do a lot of sitting trot on my youngsters. I teach them lateral work in rising trot so that they can learn to use their backs without the added pressure of a rider’s weight, which can compromise their movement.
Analysing the young horse
I look at all horses – be they prospective rides or a client’s pride and joy – with a buyer’s eye. It’s important to analyse your horse on each rein, particularly in canter, which can be very different from left to right, especially in a young horse. Ideally, I like to see the same amount of suspension in the gait on each rein, but that’s hard to find – in my experience, the majority of horses are fairly stiff to the left and have a tendency to overbend to the right, which affects the quality of movement on each rein.
In walk, I want to see freedom and overtrack. When I visualise a perfect walk, I think of Thoroughbreds walking around the paddock before a race. They have freedom of movement through their shoulders as well as their hindlegs, their hind feet end up ahead of the prints left by their front feet, and they move with purpose, which is the key to squeezing extra marks out of the walk. In trot, I want to see the horse move forward in a good rhythm. Riders tend to place too much importance on impressive movement, but expression and nuance within the gait can be developed.
Something that’s really important to keep in mind when analysing a young horse’s movement is that he’s growing. Many young horses – particularly warmbloods – have a late growth spurt between the ages of five and six, which brings their hindquarters up. By seven, the front end tends to catch up. Because of this uneven growth, you have to expect that your young horse may be rather more on his forehand than he’ll likely end up, which will inevitably affect his way of going.
Form and function
One of the adages I repeat to my students is that the rider has to be organised before they can organise their horse. Before you can think about positively influencing your youngster, you need to ensure that you’re sitting correctly, with your shoulders and hips parallel with your horse’s, your legs hanging down evenly on each side, and three equal points of contact within your seat – one on each seatbone and one at the base of your pubic bone. Don’t be afraid to use your reins, either – ride with a shorter rein and a more forward hand, so that you feel as though you’re riding towards the contact. This allows your horse to learn to pick himself up and stops him from overshortening the neck and curling behind the contact.
Walk the line
Walk is the most neglected gait, but it’s important to start developing it early on so that you can identify your horse’s natural tendency within the gait, then begin to improve on it. If he’s prone to tension, for example, he may begin the session with a short, upright walk with minimal overtrack. Meanwhile, a more relaxed type may step out quite happily, but take more gathering up later on.
The type of walk that you’re working with gives you an indicator of what your horse may find easier or more difficult later on in his training. A big walk with a huge overtrack will score very well in free walk and extensions, but because this indicates a naturally slow rhythm, the horse will usually struggle to shorten into the clean, crisp rhythm required for piaffe and passage. On the other hand, one of my top horses would average an 80% through the first half of a Grand Prix test because he found collection so easy but, because his extended walk never earned more than a six, that average would drop down to 76% across the diagonal. That’s a very costly walk.
The key is to train for adjustability within the pace. Your horse needs to learn to push his nose out in front of the vertical and stride freely forward, and you need to learn to feel comfortable with a longer length of neck. Most riders will use too much leg at this stage to try to encourage their horse forward, but this results in a shorter, quicker stride and what I call a rising walk. Rather, use your rein aids to push your horse’s head and neck away from his body, as though you’re rowing. Once his nose is in front of the vertical, he can start to use the whole of his neck and back and walk with purpose, and you can introduce transitions both within the walk and into and out of it.
TOP TIP – Variety is key to improving your horse’s walk. Hack up and down hills and incorporate variable polework, where the distance between poles changes, into your routine to teach him adjustability.
Transitional periods
The idea of incorporating frequent transitions into a schooling session is one that every rider has heard over and over again throughout their career. Transitions, when ridden correctly, rebalance your horse, help him to develop self-carriage, prevent anticipation and encourage active, expressive movement. What many riders may not realise is how many they need to ride. Within a session, 150–200 transitions is about right and, while this figure may sound astronomical, it includes transitions within the gaits and half-halts, as well as transitions between the gaits. Any adjustment of your horse’s balance qualifies as a transition.
When riding them you should keep your hand still so that your horse can learn to rest – but not lean – on the contact. So much of the transition aid is communicated through your upper body. In an upward transition, lighten your upper body, take your leg off, then reapply it. In a downward transition, bring your upper body back, keeping your horse in front of you and working towards your forward hand. At the age of five, your horse’s transitions will resemble an aeroplane that’s coming down to land. By 10, they should be like an aeroplane taking off.
TOP TIP – Ride every transition. I often see riders who ride well-thought-out, correct transitions throughout their schooling session, then let their horse flop onto the forehand on a loose rein during walk breaks. As long as you’re on your horse you’re training him, for better or for worse, so make a habit of riding properly.
Essential education
The single most important concept that you work on from your horse’s first ride through to Grand Prix is straightness – both your horse’s and your own. Whatever anyone tries to tell you about how difficult piaffe and passage are, or how hard it is to ride a canter pirouette, riding a truly straight centre line with an even, two-rein contact and your horse’s head directly in front of his chest is harder.
Training genuine straightness begins by identifying your horse’s stiffer side. If, like most horses, he’s more stiff to the left and tends to overbend to the right, then you should work on adding more bend to the left to allow him to stretch his right-hand side. Your horse’s bendier side will tend to be shorter, which affects the quality of your movements and the evenness of your horse’s gaits, so think of bend as a way of stretching and manipulating the opposite side of your horse. In his formative years, this is enough to focus on.
TOP TIP – Finish your ride by asking your horse to stretch out on a longer rein in trot. An occasional pat on the neck encourages him to reach more through his neck and to swing through his back. This acts both as a reward and as a test of throughness. A dressage horse is like a gymnast – stretching the muscles is essential.
Your Comments
Related Articles
Newsletter Sign-up

Subscribe
Latest Issue
BRC secures SEIB sponsorship for further two years
Added 5th April, 2024
New grassroots eventing team competition launched
Added 4th April, 2024

Tania Grantham’s diamond pole layout exercise
Added 27th October, 2022
Dressage to music – prelim level
Added 28th June, 2022