
Correct corners form the foundations of most competitive disciplines, yet there’s still so many riders not getting them right. Luckily, Emily King’s on hand to troubleshoot
How many corners do you think you’ve ridden on your horse? Thousands? Millions? And yet, so many of us aren’t using them to their full potential. You might not be motorbiking around corners like you were in your Pony Club days, but that’s not to say there isn’t still some space for improvement.
A corner’s simply a 90º turn and in what discipline won’t you benefit from perfectly balanced rotations? Whether preparing your horse for an accurate approach in the showjumping ring, your next movement in dressage or a second-shaving turn on the cross-country course, corners are crucial for setting your horse up for what’s coming next – so riding them accurately is an essential skill for all of us. The art of good corner riding comes from correct preparation, and luckily it’s a skill any rider can improve from the comfort of their own arena.
Set it up
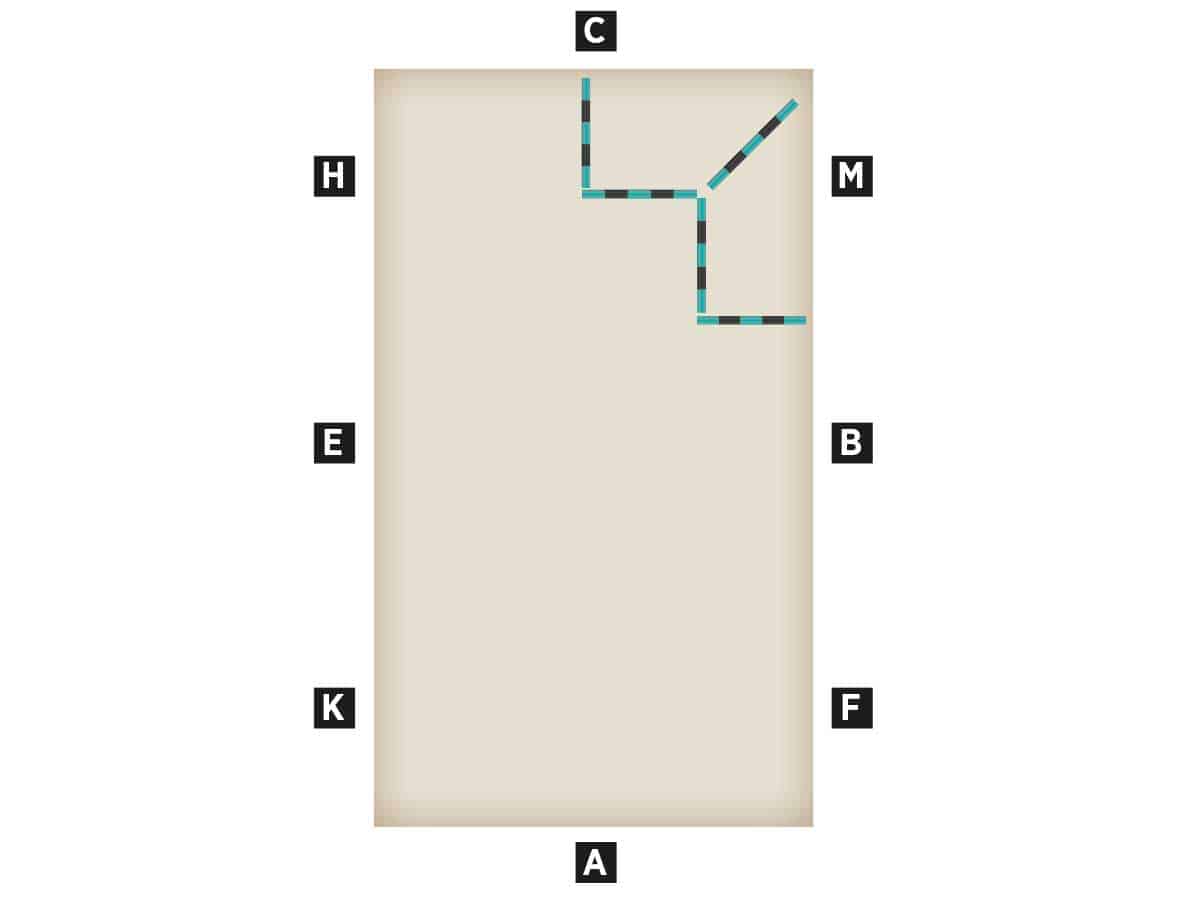
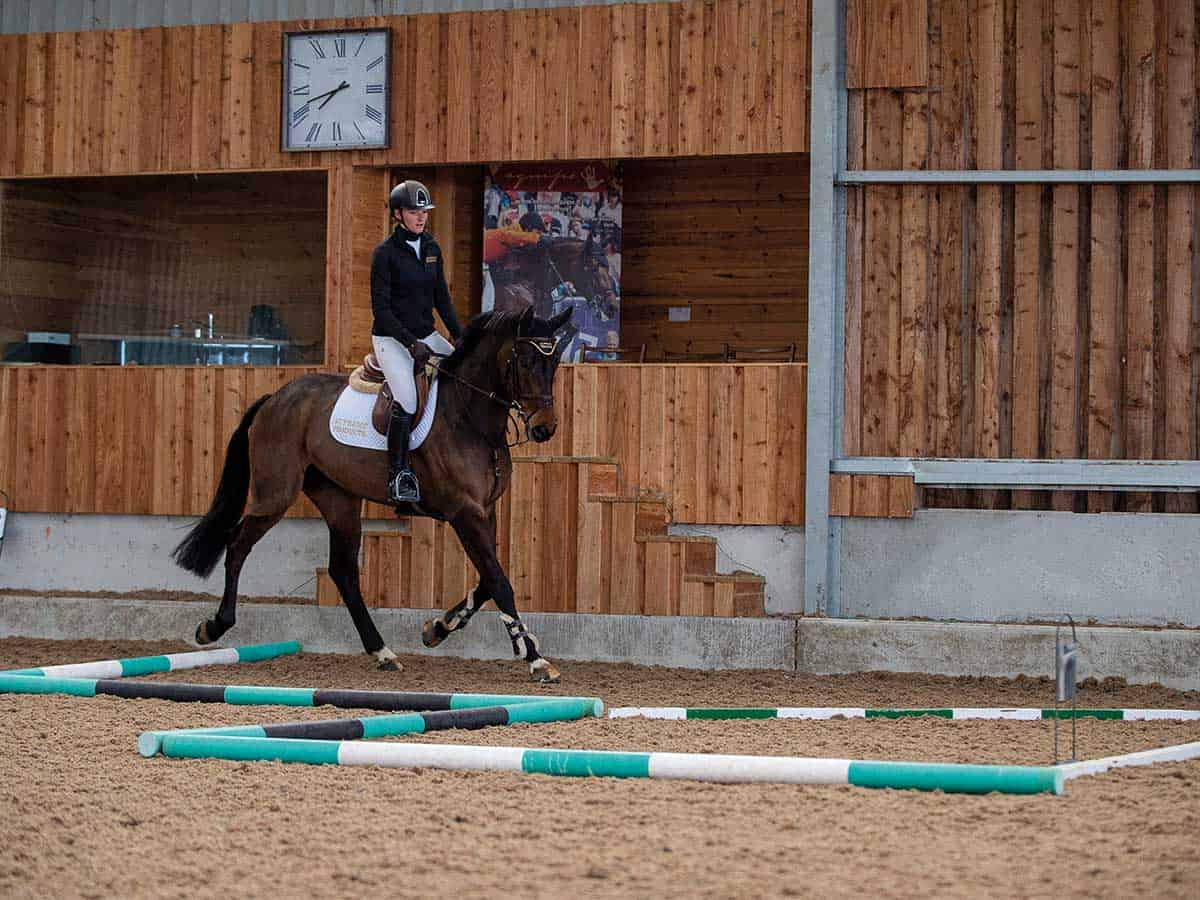
All you’ll need is five poles, although you could use 10, 15 or 20 if you wanted to extend the exercise to the other corners of your arena.
Place a right-angle of poles in the corner 2–3m from track. Then, once your horse is used to working around them, you’ll place poles at the start, intersection and end of your pole corner.
Warm-up
Start by getting your horse desensitised to the poles. Ride him large around the arena to start with, moving between walk, trot and canter as you do so – this might take longer than you’d imagine if he’s not used to working deep into the corners. Ride 15m circles around the poles so that he learns where they are, where to place his feet and how to work around them.
Once your horse is accustomed to the poles and their positioning, work on a couple of changes of rein to ensure he’s equally supple in both directions. Then, move on to serpentines, but aim to keep the bends square rather than curving. This will be great practice for the square corners you’re working towards.
Corner theory
The exercise we’re about to work on is great for young horses who are still learning to bend and adopt a correct frame. Going deep into corners and collecting – as opposed to rushing through to the other side, bending to the outside – goes against a horse’s natural instincts. Typically, he’ll prefer to keep straight and won’t know any different, so it’s important it’s taught in a calm and sensitive manner.
I use poles because they provide a visual cue that helps slowly educate horses about having the correct bend into corners. It’s also useful to think about the three stages of a corner and, while stripping away some pace, riding them accordingly…
- Entering, riding straight but with a touch of inside flexion.
- Continuing through the apex on a short but smooth curve, with inside flexion.
- Riding straight out, encouraging your horse to be even through his body again but with slight inside flexion.
This might sound simple, but it’s about steadily teaching your horse these three stages – and it’s not just young or green horses who’ll benefit. Going back to basics will improve the depth any horse gets through his corners, and the deeper your horse can go at home, the better the results will be in the competition ring. When your horse is tense or distracted, he’s unlikely to perform his movements to the extent you’ve trained them – that’s why I always aim to get 20–30% more when schooling at home. That way, what feels like slightly cutting your corners between the boards, will actually be exactly what’s needed. Always be a perfectionist at home.
Top tip
When squaring off your turns, try to visualise your horse pivoting around his inside hindfoot. His movement won’t be quite that dramatic, but it’ll help you get the right feel.
Collection point
Start by walking your horse through the corner, focusing on pushing him around the square turn with your outside aids. Your inside hand and leg will encourage some flexion to the inside, while your outside leg supports and encourages activity – by maintaining a contact with the outside rein, you’ll catch his shoulder should he start to fall out through it.
When he’s making the turns cleanly, you’re ready to move on to the main body of the exercise.
It’s time to pick up the pace…
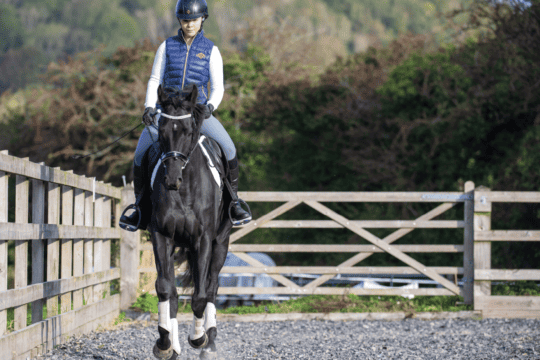
- Trot large, giving yourself plenty of time to balance your horse and get him moving in a forward, even rhythm.
- As you approach your pole corner, prepare to ask for walk – sit deep, stilling your hips and closing your fingers around the reins, aiming to walk by the point of your turn.
- In walk, push your horse around the square turn, using your leg to maintain the energy.
- When you’re ready to go straight again, return to trot and repeat.
Keep your hands quiet, level and consistent. Don’t fiddle about with the contact or try to cross your hand over his neck – keep your horse’s wither in the centre of your hands. By avoiding any temptation to keep making small alterations, you allow your horse to generate some power and momentum underneath you, and encourage him to maintain his own balance and think about becoming a little more connected.
The goal
The aim of this exercise is to encourage your horse to remain balanced around the turn and counter his natural instinct to rush. Equally, if he naturally falls on his forehand through turns, it’s a great method to steady him up. Generally, all it takes is a few repetitions before horses start to learn the pattern and back themselves off as they approach the corner.
The next level
The natural progression for this exercise is to step up to canter, this time asking for trot through the corner. This requires an extra level of balance for your horse, so start with the trot transition as you enter the pole tunnel, reducing the distance before the point of turn as you progress.
Top tip
If your horse’s transitions aren’t yet perfectly polished, there’s no sense in hauling him down to walk. Allow them to be progressive, asking him four or five strides out from your turning point, gradually decreasing this distance.
Poles apart
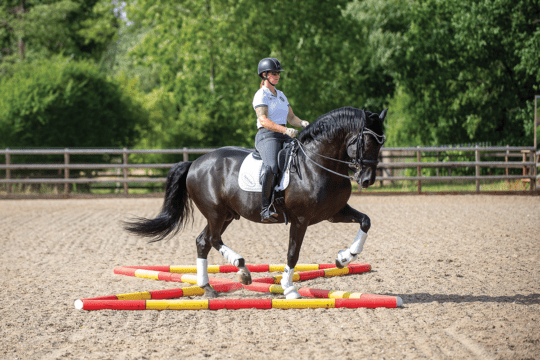
With the fundamentals firmly under your belt, and your horse carrying himself in balance through the corners, it’s time to introduce a new challenge by adding the three poles to the layout.
Approach the corner in the same way as you did previously, in a positive and even trot rhythm. However, this time, you won’t be dropping down to walk through the square turn, instead you’ll be aiming to maintain the pace. It may take him a couple of goes before he takes the poles in his stride, so remain calm and consistent until he does.
The poles on the floor will encourage your horse to stretch over his back and lift his ribcage – as well as picking up his feet and adding a touch of elevation to the trot, too. Again, the focus here is just teaching him to wait and balance. It can be confusing the first few times, so patience is key.
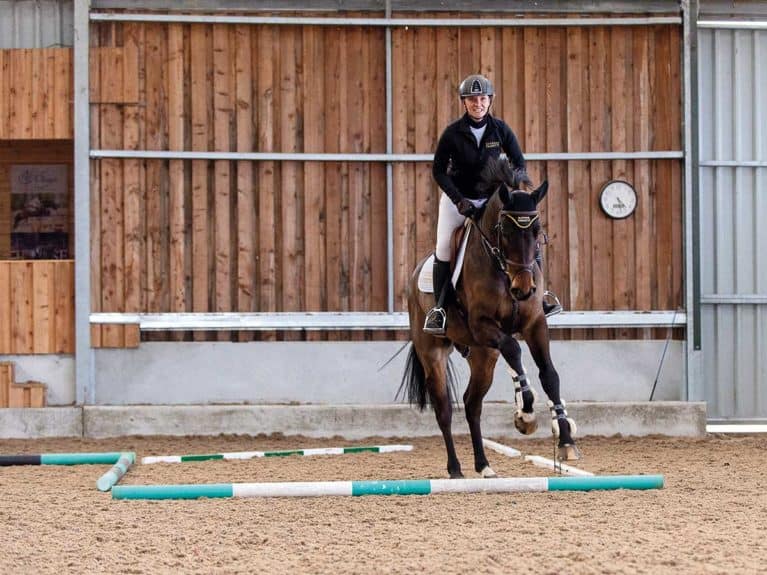
The most important thing for you to remember while you ride this exercise is that you need to remain consistent in your aids and in balance through the turn, making sure you’re not blocking your horse’s movement. I’ve adopted a light seat through the corner, but it’s up to you whether you prefer to remain in the saddle.
Top tip
Want to increase the difficulty even further? Ask for a canter transition over the middle pole and away from the corner. Your horse will need to be on your aids to get it quickly.
Practice makes perfect
Every rider can benefit from channelling their inner perfectionist from time to time – even if it goes against all your natural inclinations. By stripping down a simple movement and working through it methodically – focusing, of course, on riding it correctly – you’ll reap so many rewards. Whether you’re hoping to make gains in your test riding scores, accuracy or your horse’s way of going, there’s a take-away for everyone.
With thanks to Supreme Products for their help with this feature.
Your Comments
Related Articles

Newsletter Sign-up
