

The scientific approach to in-hand problems with equitation science trainer Julie Stapleton
Is your horse difficult to handle? Perhaps your young horse needs to improve his manners. Equitation science is a safe, simple, logical approach to tackling horse problems and will help your horse become more co-operative in-hand.
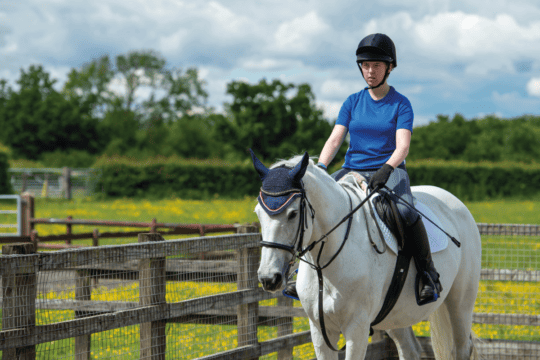
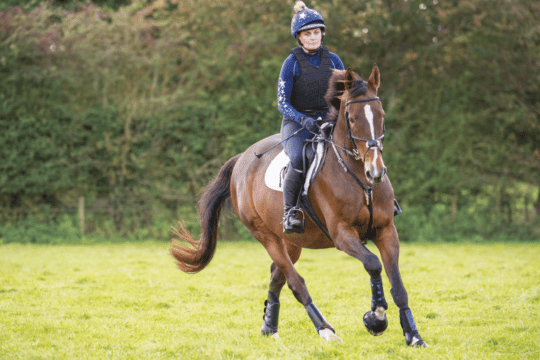
In our H&R series, which started in the September 2013 issue, we have laid the foundations of what equitation science is and how you can apply the techniques to your horse. Teaching him ‘Stop’, ‘Go’, ‘Step back’ and ‘Park’ will teach your horse how respond to light cues in all in-hand work.
To teach these responses, you need to know the basics. Below is an extract from September H&R to get you started.
![]()
Starting safely
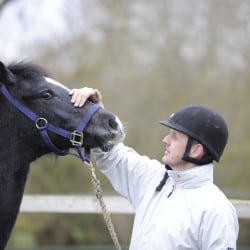
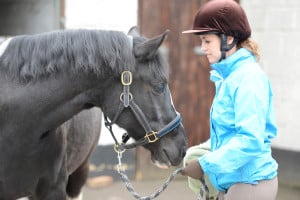
- With any in-hand training, it’s important to stay safe. Ensure you are wearing a correctly-fitted, up-to-standard hat and gloves before you start. If your horse is used to wearing a bridle and bit, then make sure he is wearing it for his in-hand training.

- Always start with the buckle of the reins across your hand. Then if your horse decides to leave the classroom, he can’t.
- Take up the slack of the reins and hold your horse near his bit. Some other in-hand techniques give the horse too much rein or lead rope. If you do this, your horse is in control of his direction and speed. Using the equitation science approach, we seek to have the horse under our control at all times.
- Stand in a safe place. Make sure you place yourself to one side of your horse’s forelegs. Otherwise you are at risk of being trodden on or knocked down.
- Always train in a safe, enclosed area.
- Keep watching his forelegs, because it is the lack of control in them where the danger occurs, not just in-hand but when ridden. Using this approach you can correct any errors as soon as they occur and before they escalate. If you train the forelegs, the hindlegs are trained as well. This is because of ‘central pattern generators’, which are two nerve clusters that control the co-ordination of the horse’s legs.
Learning about taps
 Taps are the cues you will use to ask for a movement or response from your horse. Use a schooling whip as an extension of your arm. Equitation science uses ‘whip taps’, but these are not punishments. Hold the whip across your legs, pointing downwards, with the back of your hand towards your horse. To implement the taps, move your hand and your wrist – not your elbow. Once you start bending your elbow, you risk using too much force and hitting your horse. When you are not using your whip, make sure you keep it as still as possible to avoid unintentionally giving your horse an aid.
The ideal, when you use taps to ask for a response, is to receive a response after only two taps. However, when you are training, it will probably take many more than this.
When you start tapping, use a light but clear pressure. If your horse is not responding to the first two taps, keep the pressure the same but increase the frequency – get faster. If the faster taps also do not give you the desired response, make the cue firmer by increasing the power behind the tap. But remember, this escalation has to happen quickly, within a few seconds. Your horse will learn to respond to the lighter aid in order to avoid the pressure of the stronger aid.
The reward ‘hot spot’
 We never pat a horse as it isn’t a natural reward for him. Instead, we scratch him on his neck and say, ‘Good boy’. It’s the ‘hot spot’ for reward and is where horses mutually groom each other. If you put a heart rate monitor on a horse and praise him, his heart rate will drop by 10 beats per minute. This positive reinforcement accelerates training.
Cementing the action
When training any of the responses in this series, it will usually take between five and seven tries for your horse to trial the correct response – ie, stepping back. When he offers the correct response and you have rewarded him with the release of pressure, you then ask again with the same cue until he offers you the correct response three tries in a row. Then give your horse a two-minute brain break!
Next, continue the training until you are offered three correct responses again. It should come quicker this time. Give your horse another brain break.
On picking up the training after the second break, your horse should respond to the cue immediately and get it right three times in a row with no mistakes.
Visit the ‘Equitation science: Teaching ‘Step back” page to learn how to teach your first cue.
Your Comments
Newsletter Sign-up

Subscribe
Latest Issue
Brilliant Badminton
Added 22nd April, 2024
BRC secures SEIB sponsorship for further two years
Added 5th April, 2024
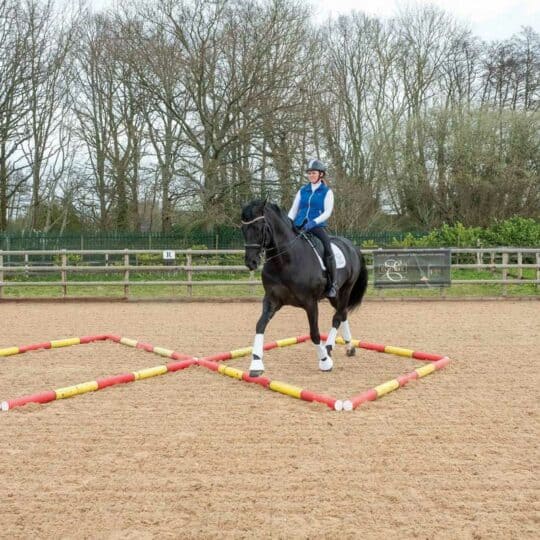
Tania Grantham’s diamond pole layout exercise
Added 27th October, 2022
Dressage to music – prelim level
Added 28th June, 2022