

Get more from your lungeing sessions
Posted in Riding Schooling and Training Groundwork and Handling
Having a plan of action will make your lungeing session much more effective. Fizz Marshall shares some simple exercises
Even if you’re confident with the basic mechanics of how to lunge, correcting problems and developing your horse’s schooling can feel like a tall order. However, by having a few simple exercises and plans in your repertoire, you’ll find that you can really improve his way of going in as little as 20 minutes.
Conformation
Before you get started, it’s a good idea to consider how your horse’s conformation could affect how easy he finds the work you’re asking him to do. Take a close look at his body and think about what he might struggle with and what exercises you can use to help him. For example, if he has quite straight hindlegs, this could make it harder for him to engage his quarters, so exercises that encourage him to bring his inside and outside hindlegs underneath his body will be beneficial.
It’s also important to take into account his age and level of training. If he’s young or new to lungeing, don’t ask too much of him at first and build up his work gradually.
Top tip
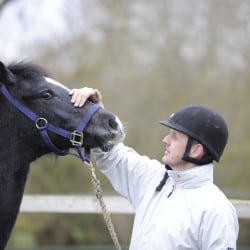
Ask someone to stand your horse up on a flat, level surface so you can assess his conformation and muscle balance from all angles. When you take a step back, he’ll look very different to when he’s in the stable or being ridden. Taking pictures once a month of your horse is a great way to monitor changes in his development.
Lunge kit
Just as you choose tack based on the discipline you’re doing, your horse’s way of going and his level of schooling, the kit you lunge him in should reflect your assessment of his conformation and what you want to achieve. Training aids don’t have to be expensive or complicated – for example, an elasticated tail bandage run around your horse’s quarters and tied to the roller on each side is a great way to encourage him to engage his hindquarters. Couple this with a pair of side reins and you’ve a means of harnessing both ends of his body without having to spend a lot of money.
Outline planning
While you may think you should start in a long, low outline, then encourage your horse to be more uphill as the session progresses, if he has a tendency to run on his forehand and not push from behind, then this way of working will only make things worse. Instead, try attaching the side reins higher up the roller and on a loose setting to encourage him to carry himself in a more uphill way to begin with. You can then work on stretching later in your session when he’s more connected and engaged. You’ll find that he’ll take bigger, longer steps when you allow him to stretch and you’ll be able to maintain the power in his stride.
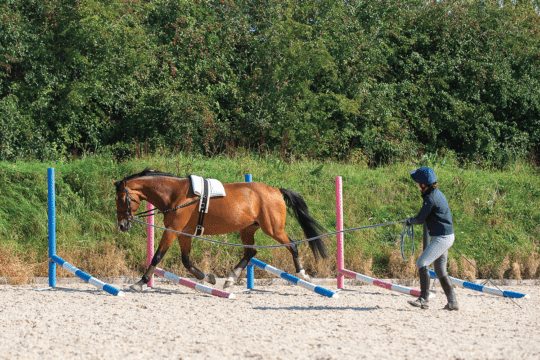
Lungeing plan 1: Prevent falling in
Falling in – under saddle as well as on the lunge – is often caused by a lack of straightness and suppleness. The good news is that it’s easy to correct using poles on the ground. Work on it on the lunge and you’ll feel the benefit when you’re back in the saddle.
Top tip
This exercise seems simple, but can take a bit of practice to get right. Take your time and don’t be afraid to go back to walk if you struggle to keep your horse out in trot or canter.
Set it up
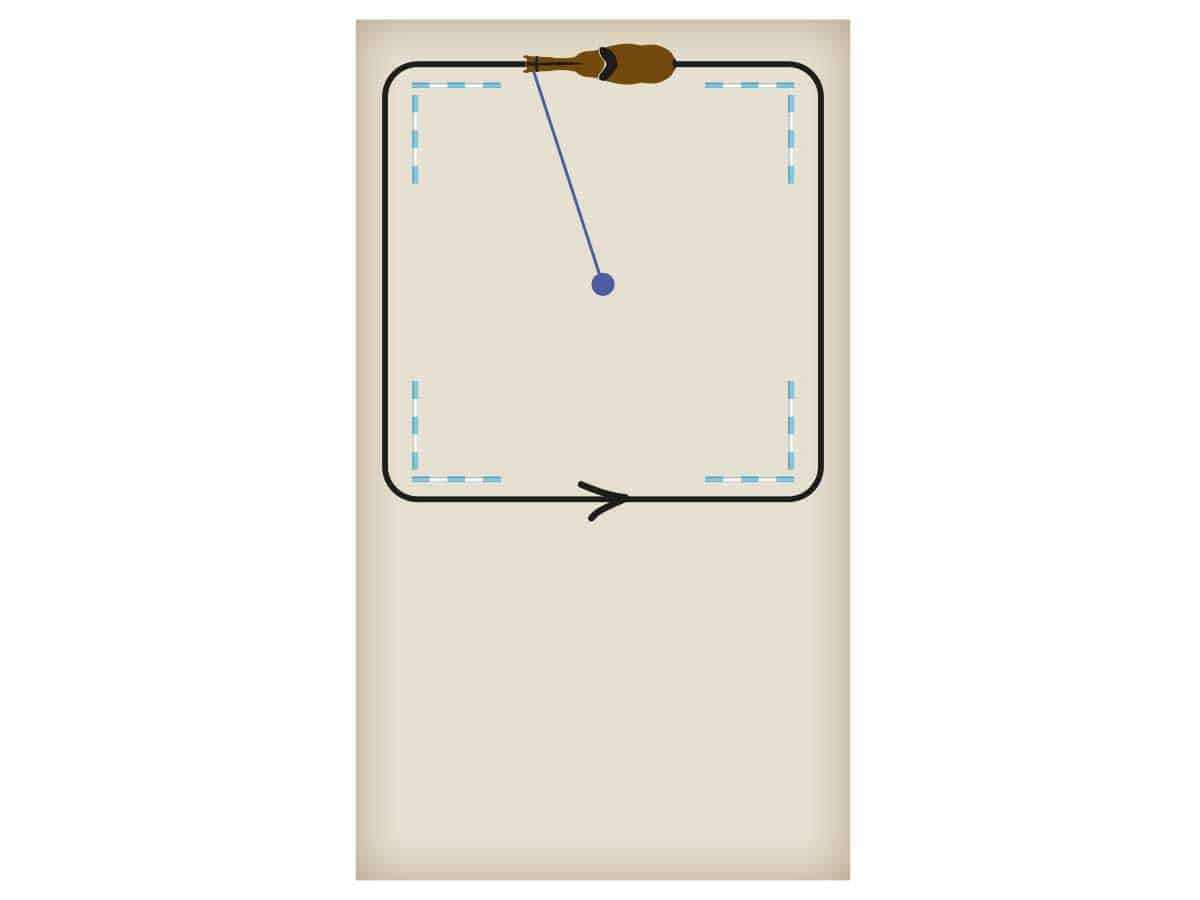
- Use two poles set at 90° to each other to create a corner. This gives you a straight line to follow before and after the turn
- Set up one corner to work around or build four to create a square
How it helps
The straight line on the approach and exit of the turn helps prevent your horse falling in, teaching him to control his body and encouraging him to take more weight through his quarters by engaging his inside hindleg
The corner allows you to establish a better contact on the lunge line – teaching your horse to accept this will help with all aspects of lungeing, as well as helping you bend him around the point of the poles
Top tip
If your horse is prone to falling in, it can be tempting to ask him to go faster to try to solve the problem. However, this will cause him to be even more unbalanced and make the problem worse.
Try it out
- Start in walk – this will help your horse understand what you want him to do. Going too fast makes it easier for him to cut the corner and defeats the point of the exercise.
- Walk in his eye line rather than opposite his girth, which will encourage him to stay out on the square.
- Once he understands what you’re asking, progress to trot.
- If he rushes, ask for a half-halt before each corner to rebalance him.
- Keep the pace steady – a little slower than his normal working trot – until he learns that he must stay outside the poles. This will also help you maintain control.
- Make regular transitions between walk, trot and halt on the straight sections of the square to help keep him focused on the exercise.
- When you’re both confident in trot, you can progress to canter.
Did you know?
The aids for half-halt on the lunge are similar to those you use in the saddle. Give a soft squeeze on the line, then soften your hand at the same time as engaging your core, so that you momentarily still the movement of your body.
Lungeing plan 2: Create bend
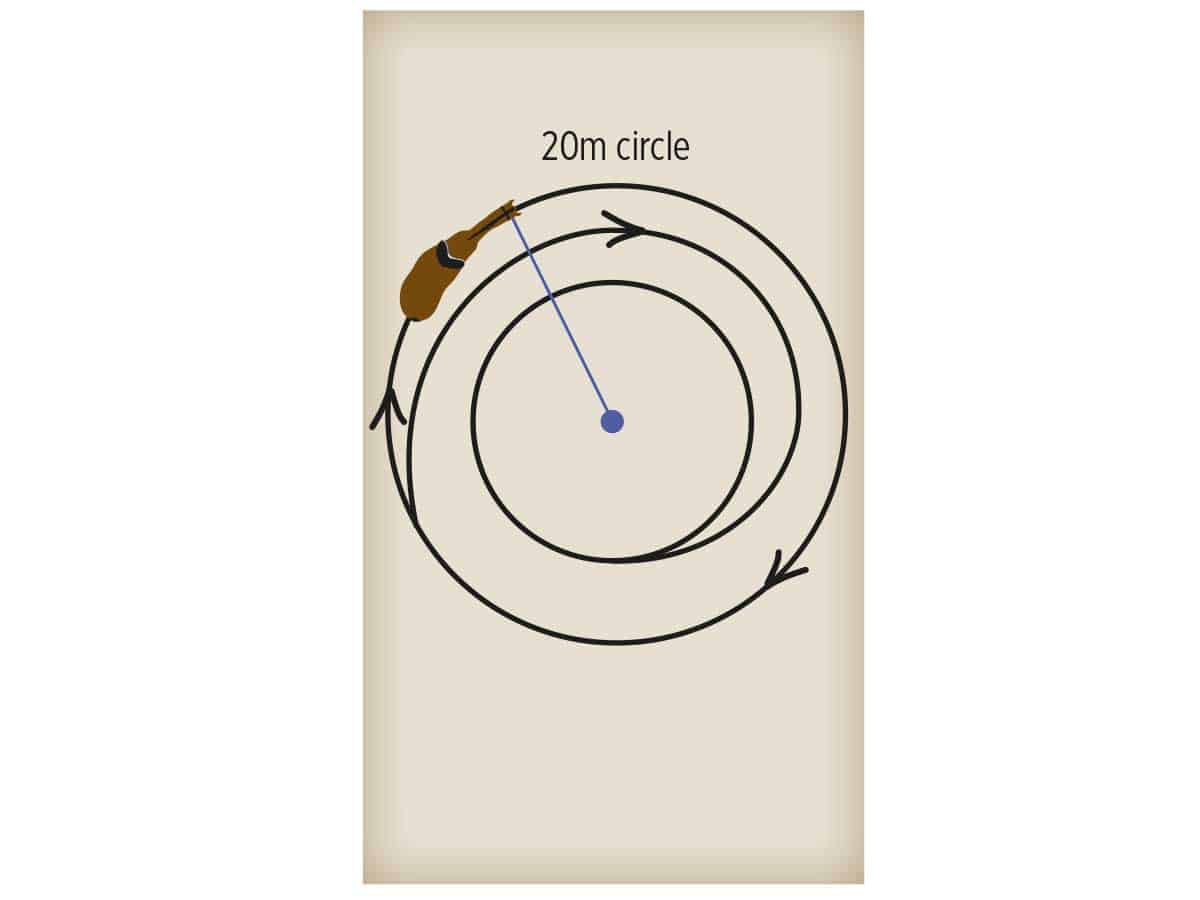
Every horse will benefit from suppling exercises. They’ll improve his ability to bend and make him more comfortable to ride, too. Spiralling in and out on a circle is a useful suppling tool and is great for helping you create bend through his whole body.
Top tip
The key to success with this exercise is having your lunge line organised, and being able to let it out and reel it in smoothly. Keep the loops small and evenly sectioned – don’t let them come any lower than your knee.
How it helps
- Spiralling down from a 20m circle to a 10m circle, and back out again, will encourage your horse to stretch the outside and contract the inside of his body, which creates even bend from poll to tail.
- Developing this kind of lateral flexion on the lunge can be easier than under saddle because he doesn’t have the weight of a rider to contend with, and you can see how he’s moving and whether he’s evading by swinging his quarters out, for example.
Try it out
- Start on a 20m circle in walk or trot and focus on establishing an even rhythm.
- Maintain an even contact on the lunge line to encourage him to bend through his body, and look around the turn with his head
and neck. - Reduce the size of the circle by gradually shortening the lunge line – it will take four or five circles to achieve this.
- If he loses balance, steady the pace but maintain impulsion as the circle size decreases. A slower tempo shouldn’t mean he loses energy.
- Remain on the small circle for three or four circuits, until you see him soften his frame.
- Allow him to move back out onto a bigger circle by gradually lengthening the lunge line.
Top tip
If he’s reluctant to move back onto the larger circle, point the end of your lunge whip towards his quarters to encourage him away from you.
Lungeing plan 3: Better balance
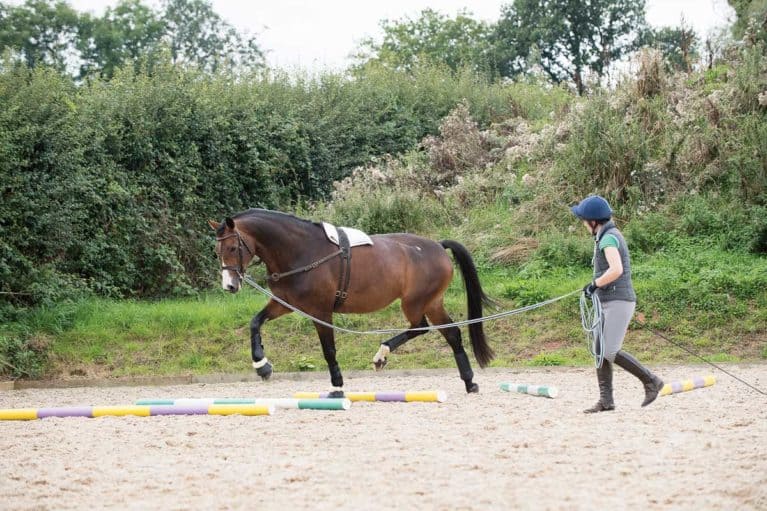
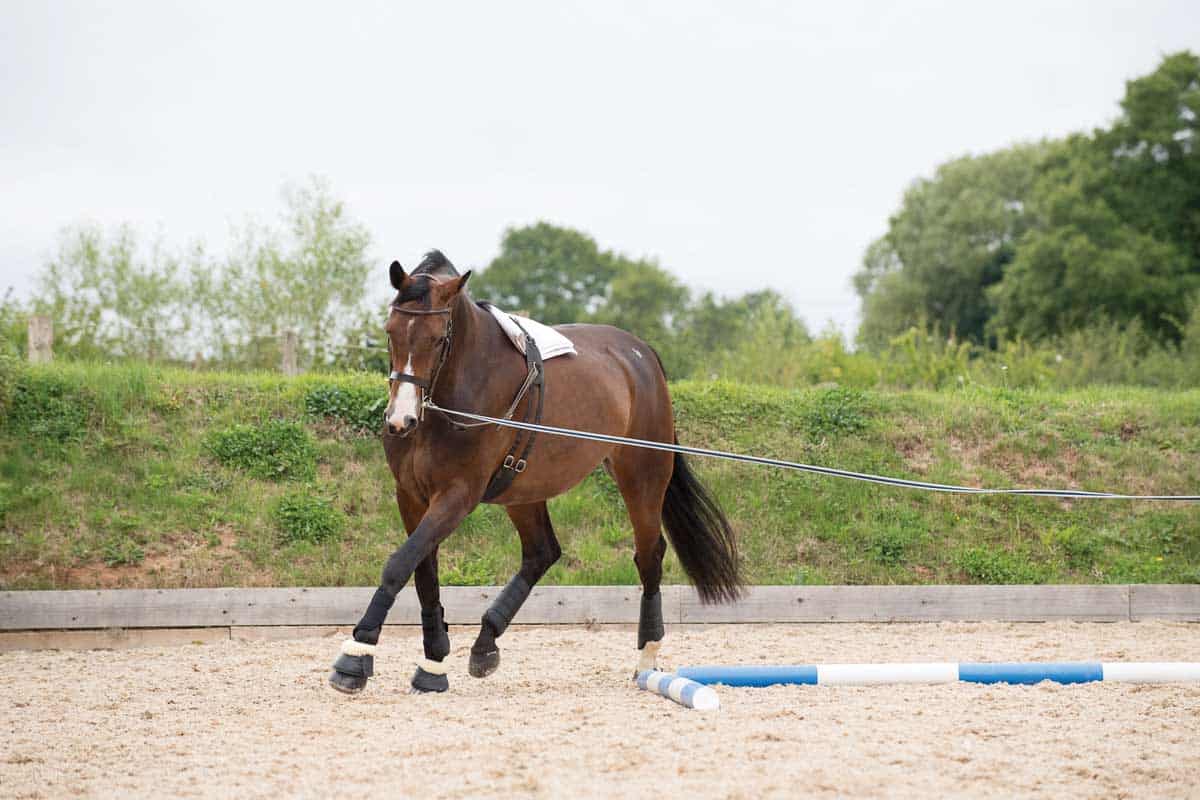
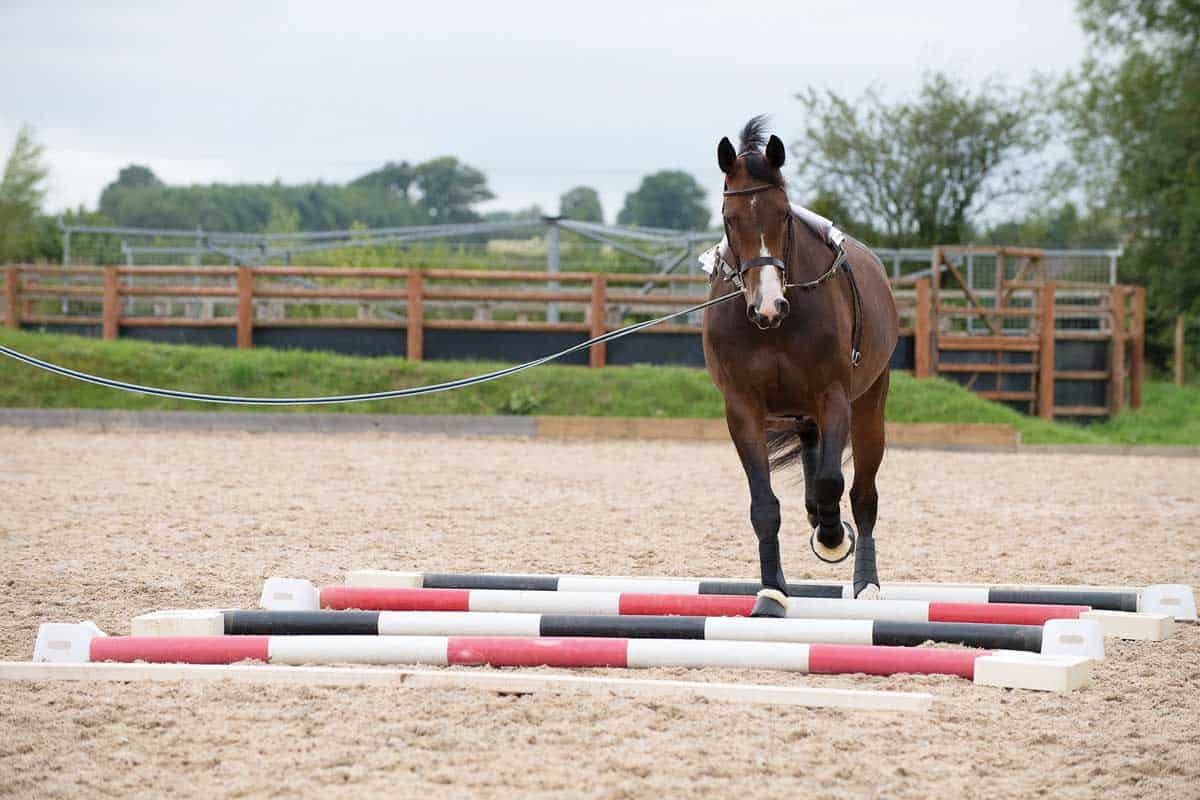
Lungeing over poles helps improve your horse’s balance, adds expression to his paces and is a great way to begin varying his stride length.
Top tip
Always use a minimum of three poles in a row so your horse doesn’t mistake them for something you want him to jump.
Set it up
- Begin with three trotting poles set out in a straight line
- If your horse is balanced enough and you’re both ready to up the challenge, you can progress to canter poles
Distance checker
Your horse’s stride length will vary depending on his size, conformation and the stage of his schooling. This means it’s important to work out the right distance for him as an individual. Use the following as a guide and make adjustments to suit your horse so he can comfortably work over the poles…
- standard trot poles 1.4–1.5m
- shortened trot stride 1.2m
- lengthened trot stride 1.7m
- standard canter poles 2.7–3.3m
Top tip
Take the time to get the pole distances correct – if they’re too short or long, he’ll struggle with the work and could step on a pole, causing him to trip or stumble.
How it helps
- Poles help to regulate your horse’s stride length, which can be useful when he’s learning to develop rhythm and balance.
- As his training progresses, adjusting the poles to give him more or less room will help teach him to collect and lengthen his stride, and alter his range of movement without having to manage the weight of a rider on his back.
Did you know?
The more work your horse does over poles, the stronger he’ll become and he may start to cover more ground. If this happens, adjust the distance between the poles to suit his new, longer stride.
Try it out
- Quietly walk your horse over the poles a few times to let him work out where he needs to put his feet.
- Position yourself alongside your horse and remain parallel to him as he goes over the poles. Dropping behind will pull him off the straight line that he needs to comfortably make the distance between the poles, encouraging him to run across them on a diagonal.
- Pick up trot and focus on helping your horse maintain a steady, even rhythm and stay straight.
Top tip
If your horse tries to rush, ask for a half-halt or make a transition to walk before the poles – it’s important he doesn’t learn to hurry rather than engaging his hindquarters and balancing himself.
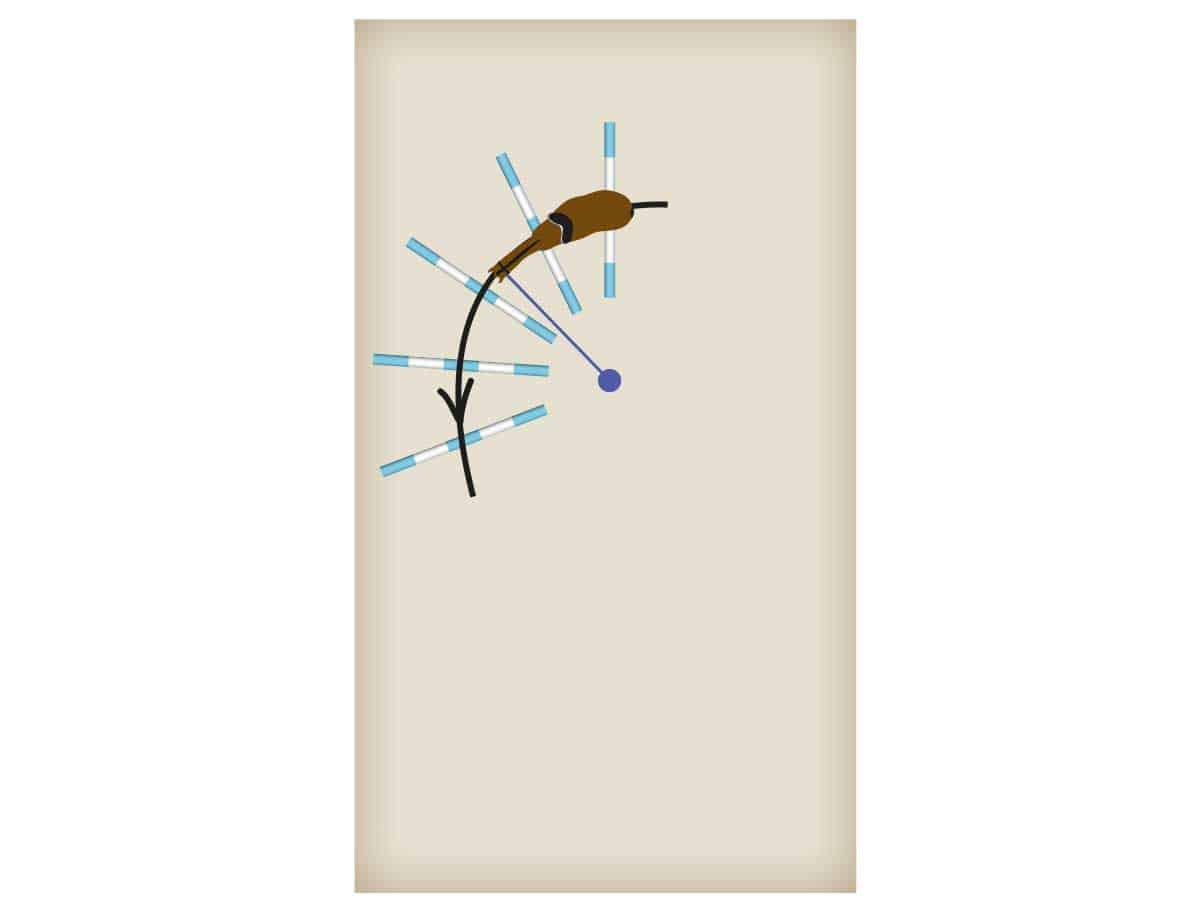
Lungeing plan 4: Develop body awareness
When you’ve mastered poles on a straight line, you can introduce them on a curve to increase your horse’s gymnastic workout.
Top tip
Switching between straight and curved poles changes the way your horse uses his muscles and helps him to maintain focus.
Set it up
- Start by placing your middle pole on the ground and position each pole so it’s at a slight angle to its neighbour
- Measure out a standard trotting pole distance between the middle of each pole. The distance will be wider at the outside of the poles and narrower on the inside
How it helps
- By asking your horse to step over the poles at the same time as bending around the turn, he has to engage his whole body
Try it out
- Lunge your horse through the curved line a few times, aiming for the centre of each pole.
- Direct him to the outside of the poles to ask him to open up his stride.
- Bring him closer to the inside for shorter, more collected steps.
Top tip
Lungeing over poles is hard work for your horse, so give him plenty of walk breaks and keep each session short.
Get it right
Here are some useful hints to help you master lungeing over curved poles
Problem… I can’t steer him onto the line I want.
Solved… maintaining a contact on the lunge line will improve your control and help you set up your approach to the poles. It also encourages your horse to bend as he goes over them.
Problem… my horse rushes through the poles.
Solved… ask for a small circle or a half-halt before the poles, which will help to rebalance and steady him.
Problem… he steps on the poles when I ask him to go down the narrow side.
Solved… check you’ve not set the distance too short. A half-halt before the poles will engage his quarters and rebalance him, encouraging him to shorten his steps.
Problem… he struggles to make the distance for lengthened strides.
Solved… make sure the distance isn’t too long. Then approach the poles with more energy – point the whip towards his quarters if you need to increase impulsion. Don’t allow him to speed up, though, so maintain a steady contact on the lunge line.
Go the distance
When you’ve got the hang of the polework exercises in trot, you can have a go in canter, but adjust the distances first. If you’ve got enough poles, you can set out a line of trot and canter poles – if not, and you’re going to be working mostly in canter, set them out for this pace. Canter distances will work for trot, but as your horse takes an extra stride between each pole, it’s less intensive than standard trot poles. Never attempt to canter through trot poles, though.
Your Comments
2 thoughts on “Get more from your lungeing sessions”
Leave a Reply
You must be logged in to post a comment.
Newsletter Sign-up

This was really helpful, thank you.
My horse is reluctant to canter left-leading. She always tends to canter right-leading, even when on the left rein. Could lungeing help and, if so, how can I do this?