Featured Professional
Stretching your horse’s topline is essential for progressing his training, says Carl Hester.
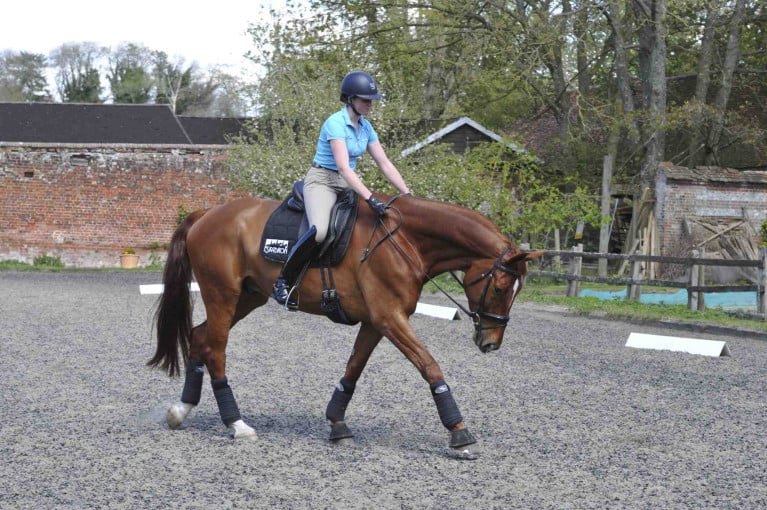
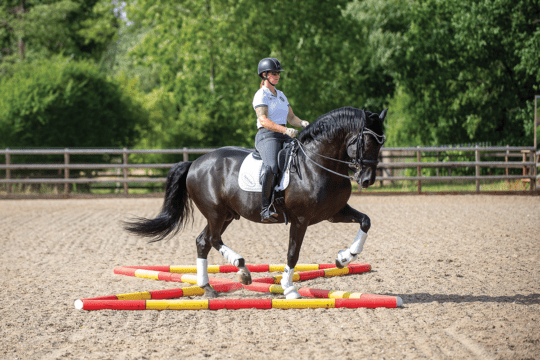
We’re not all lucky enough to have a good arena to ride in. However, that doesn’t mean we can’t still school our horses successfully, as Horse&Rider reader Harriet has proved with her horse, Hanky.
Without access to an arena, she still manages to school Hanky in his field three days a week, and the pair is successfully competing in affiliated Preliminary dressage.
Carl likes to give his horses time to relax when they first come out to the school. He says: “If you get on your horse and request all sorts of tricks from him straightaway, it is physically demanding on his body. Not only that, but it is likely to make him tense and cross, too, which is a bad way to start any schooling session.”
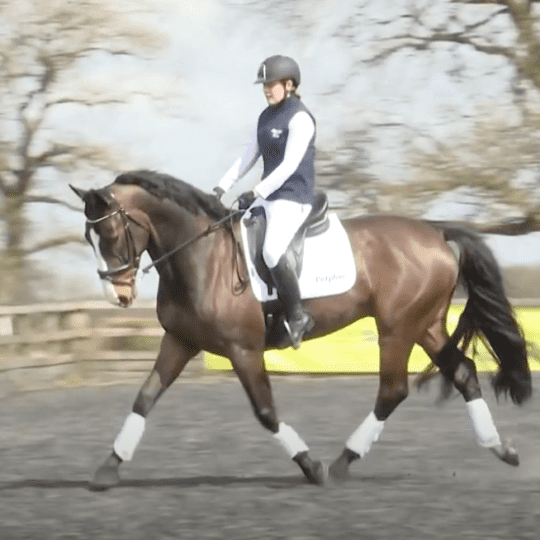
He asked Harriet to begin by encouraging Hanky to stretch forward and down, but Hanky – being a Welsh cob with an upright shoulder – finds this hard and is reluctant to stretch.
Sound familiar?
If this is a problem you have with your horse, then Carl advises asking for stretching work at the end of a session, rather than the start, on the basis that: “Horses will generally stretch more when they’re tired.”
Straightness explained
Straightness, put simply, is riding with your horse’s head and chest in front of his hind legs. Next time you are riding your horse, try to feel which way he falls out. You may notice he falls out through a shoulder or drifts out toward the track on one rein.
If he falls out to the right, like Hanky, then it actually means that he finds it hard to stretch through the left-hand side of his body, so the left side is the stiffer one. Therefore, if he falls out to the left, it’s his right side that needs stretching.
Straight talking
So having decided to leave the stretching work until later, Carl watched Harriet and Hanky warm up in trot and canter. He stressed the importance of keeping a contact with the reins.
“You’re more likely to get some good stretching from your horse at the end of a session, if he is working into a contact right from the start,” he said.
Like people, most horses are one-sided, and riding in front of mirrors is the ideal way to see whether you and your horse are straight. However, school mirrors are a bit of a luxury, to say the least, and if you haven’t got any at your yard, Carl recommends hiring a school which does have them, once in a while.
“Alternatively, when you’re at competitions, make the most of mirrors there. Use them whenever you can, during the warm-up or as you go in to ride your test,” he suggests.
In Harriet and Hanky’s case, the mirrors revealed that Hanky was falling right. The way to correct this, Carl Hester-style, is to ride shoulder-fore on the right rein. “This exercise stretches the left side of the horse’s body, which is what Hanky finds hard,” Carl explained. If your horse has the opposite problem – ie, falls left and doesn’t want to stretch his right side – you need to do the shoulder-fore exercise on the left rein.
Or try this exercise instead… Ride a circle and leg-yield out into your horse’s stiffer rein. Hanky doesn’t want to stretch his left side, so Harriet circles to the right and leg-yields out to the left.
 Corner crazy
Carl noticed that Harriet’s corners could be better. “They’re pretty bad,” he told her. “And also very important. Everything starts from a corner, so if you ride them badly, the movements afterwards won’t be good, either.”
Harriet was riding quite fast through the corners, which was causing Hanky to fall in and cut the corners – a common problem with young or green horses. “Okay, take away some of the speed,” Carl advised. “In fact, ride some walk transitions as you come into the corner, then trot again.”
Once things were looking better, Carl continued this exercise without the transitions. And amazingly, Harriet and Hanky’s corners were a lot better.
Walk works
Walk is an important part of any dressage test. Free walk on a long rein or – as you go up the levels – extended walk, both often carry double marks. “But the walk is something that often gets forgotten,” said Carl, before telling Harriet:
“Give Hanky a break, but instead of dropping the contact and sitting on him as if he’s a sofa, bring him forward to walk, keeping a contact. Then encourage him to stretch his head and neck out and down, keeping the walk steps going forward.
“Imagine you are in your test trying to get a 10 for your free walk. He actually has a good overtrack in walk and he can stretch his neck after all! Hanky should stretch down every time he walks, until it becomes his way of going,” he told Harriet.
Overtrack means that the hind footsteps reach into or past the prints left by the front feet. It shows that your horse is working actively forward.
 Walk-to-canter
Carl likes to teach his horses walk-to-canter from a very early age. “The whole point of teaching it is with flying changes in mind for the future,” he explained, “but it’s a good exercise for any horse to learn, as it gets them sharper off the leg, too.”
How you ask for the transition will determine the results you get. Carl’s advice is: “Don’t give the aid once and back off. Instead, give the aid and keep it on until the moment the horse offers canter, then back off. Much better – that was nearly very good!” Carl told Harriet, as Hanky responded well.
Hanky struck off on the wrong leg a few times but, as Carl explained: “It’s a common mistake for young horses to make and generally, if there are no major problems, most horses soon ‘grow’ out of it. You can make it easier for your horse to give the correct lead in the early stages, by putting him in outside bend,” he said.
After doing this exercise, Hanky started jogging in walk, as he was anticipating the canter transitions. “You’re pulling against him, Harriet, so try giving-and-retaking the reins a bit more, to stop him jogging. And don’t straighten your arms like a doll – keep more bend in the elbows.”
 Give-and-retake
At Novice level dressage, there is a movement called give-and-retake the reins. This requires the rider to give the rein toward the bit for a couple of strides in trot or canter, with the horse staying in balance, in the same outline.
At this stage of his training, Hanky – as Carl put it – says, ‘Thank you very much, and sticks his neck out’. “Good balance comes with time, but try to keep the impulsion and ask for it at a good moment.”
In summary
Carl had the following advice for Harriet. “You’re lucky, because your horse is really trainable, which is a great start. The one thing to be aware of, however, is that when he hangs on to you, you hang on to him. Therefore, you need to start letting go, so that he learns to balance himself better. Generally, though, he is very easy and straightforward, with a promising dressage future.”
Our expert
Carl Hester has more than 40 National dressage titles under his belt and has competed at four Olympics! He’s also a contender for this year’s Olympic Games with his equine partner, Dolendo.
Our models
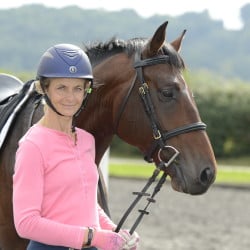
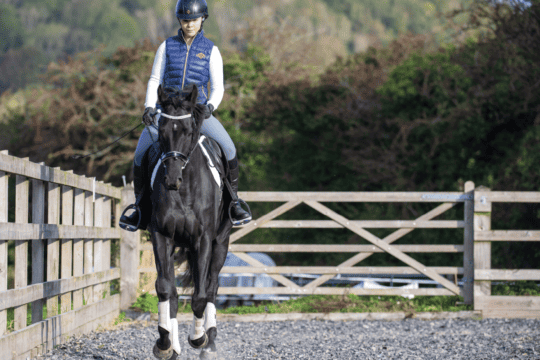
Harriet owns Token of Honour (Hanky), a five-year-old Welsh-bred gelding. Harriet says: “I bought him over a year ago – my dad swapped him for some cattle at Abergavenny market – with the intention of selling him on, but I like his temperament. And he won three out of six Prelims that I did with him, so he gets to stay. Hanky tends to lack suppleness and he is strong, so can pull away from me. He needs to be lighter in front.”
Our rosette symbols highlight expert riding advice of various levels

A yellow rosette indicates advice that’s especially useful for novices, or more experienced riders who fall into bad habits!
A blue rosette denotes information ideal for anyone who wants to improve their skills.
A red rosette highlights techniques for more advanced riders to try, and all of us to aspire to!
Your Comments
Related Articles

Newsletter Sign-up

Subscribe
Latest Issue
Brilliant Badminton
Added 22nd April, 2024
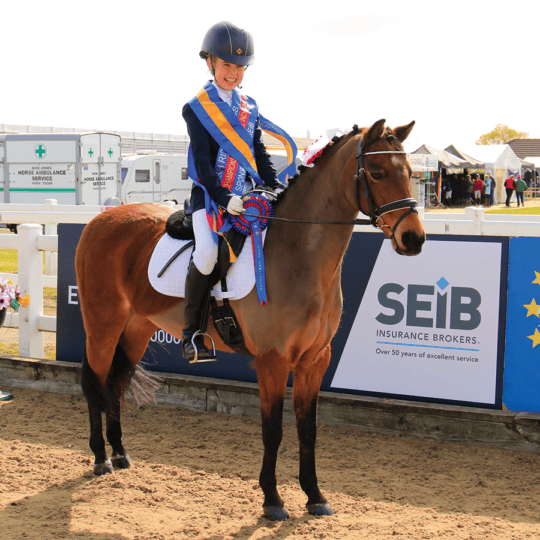
BRC secures SEIB sponsorship for further two years
Added 5th April, 2024
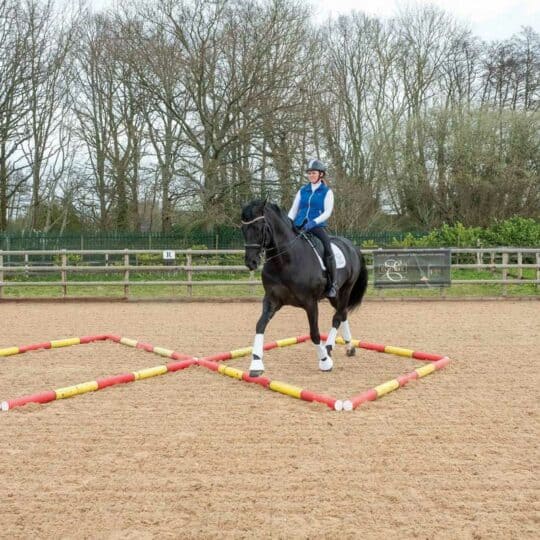
Tania Grantham’s diamond pole layout exercise
Added 27th October, 2022
Dressage to music – prelim level
Added 28th June, 2022