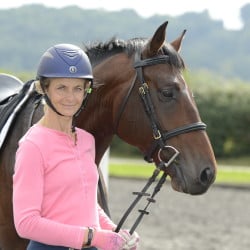
Featured Professional
Anna Ross
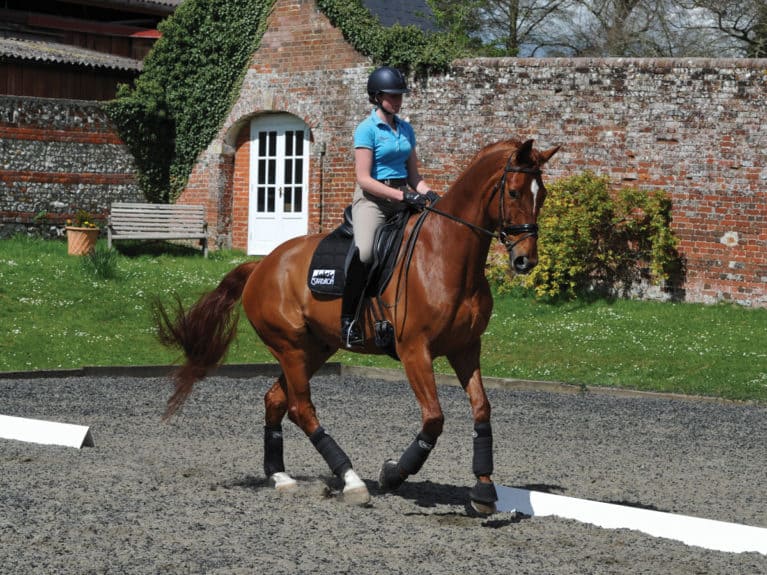
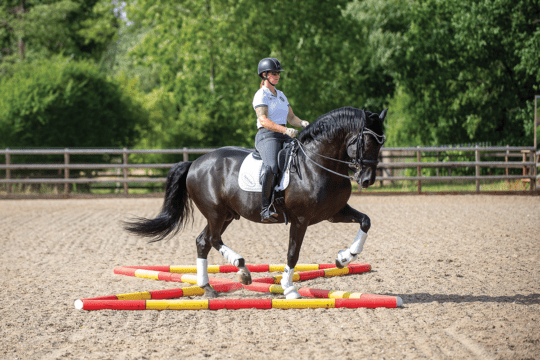
International Grand Prix dressage rider Anna Ross has ridden for Team GB all over the world, most recently with Jane Sewell's talented mare Die Callas, with whom she was Reserve for the 2015 European Championships. Anna runs Altogether Equestrian, a training yard in Wiltshire.
Get the knack of Novice dressage and crack all the moves with help from international Grand Prix rider, Anna Ross

I love dressage, I love horses and I love riding. But I’ve had to be creative to develop my riding career, funding my riding lessons at first by working a sandwich round. By nature, I’m a practical person and can’t be dealing with extremely complicated and abstract explanations on training techniques – I had to sling a lot of sandwiches to get those early lessons and I wanted advice I could use straightaway!
So not only does theoretical gibberish leave me cold and confused, I find it doesn’t help me train and develop happy, successful horses and riders.
I didn’t come from a horsey background and didn’t ride a dressage test until I was in my twenties. Dressage is 50% about talent and 50% about education – logical training can set you up for a lot of fun and success, no matter what point you are starting from. Now, let’s get started!
What is the aim of Novice dressage?
With slightly more complicated floor plans, transitions that come up a little closer together, and the introduction of medium paces, counter canter and 10-metre circles, Novice level dressage begins to ask a few more questions about you and your horse’s training regime. The extra bits you’ll find in a Novice test are progressive and will build on the work you were doing at Preliminary level.
Most horse and rider combinations can enjoy the process of preparing for the types of challenges you’ll find in a Novice test, it’s simply a matter of doing the right preparation. Here are a few of my favourite exercises to set you on your journey up the centre line.
Anna’s top tip
Long arenas are more common at Novice level, so it’s important that you commit the markers to memory. Remember your long arena markers using the manners your mother taught you – the acronym RSVP will fill in the extra markers for a long dressage arena. Starting from B, the extra letters work their way anticlockwise around the arena to form RSVP.
Sort out your spurs
It’s important that your lower leg is under control before strapping on a pair of spurs. If you don’t normally wear them, don’t put them on just for the sake of it on competition day. And if you’re unsure about whether you need them, don’t guess – speak to your instructor.
Be aware of when you’re using your legs and when your leg can be quiet. Any repetitive ‘noise’, like poking your horse with every stride is unpleasant for him as well as unnecessary.
Exercise 1 – Use your corners even more
Teaching your horse to stay off his inside shoulder and move around your inside leg will help improve the quality of your training and test riding. By practising the exercise of downward transitions into every corner and upward transitions out of every corner, your horse will have learned to balance and engage through turns. Now it’s time to ask him to flex and bend. Every corner gives you the chance to develop this skill and here’s how…
- Begin in trot
- Ride a transition to walk at the corner marker
- Flex him to the inside so you can see his inside eye and maintain the bend around the corner
- Ride forward into trot when you are through the corner
- Repeat on the next short side
Problem-solving
Corners are not ski-slalom or rounded circles and you need to be careful that you’re riding them correctly, not travelling diagonally from one corner marker to the other.
Understanding flexion
When your horse flexes through his poll, the bend is through his body. While it’s possible to have flexion without bend – for example, during leg-yield where there is flexion in the poll, but there’s no bend in the body – it’s impossible to have bend without flexion. So, building suppleness though simple exercises is an essential part of your training regime.
Why it works
Ridden consistently with flexion and bend, the geometry of arena corners help your horse become more supple in a friendly, non-confrontational way.
You may not be skirting the boards like a Grand Prix horse at first, but stick with it and your horse will start to build the understanding, strength and suppleness to maintain flexion and bend through other movements, like circles.
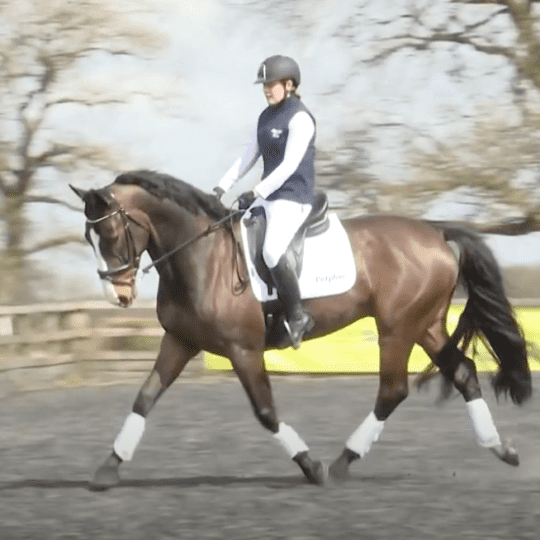
Exercise 2 – Prepare for counter canter
Early in his ridden career, your horse will have been taught that there is a left lead canter and a right lead canter. At first, he will probably balance his weight over his leading leg and shoulder. But as his training progresses, this should change and he will learn to carry his weight more evenly.
Counter canter is introduced at Novice level to test you and your horse’s ability to maintain balance independent of the leading canter leg. Here’s how I prepare my horses for counter canter…
- Begin in true canter and ride a very shallow loop from the corner marker towards the quarter line, then back to the next corner marker. This gives your horse the idea that he can shift his weight and move his balance around without changing direction.
- As he becomes more balanced, you can increase the depth of the shallow loop, eventually reaching the centre line.
- Once you can comfortably ride shallow loops on each rein, progress to riding across the short diagonal and maintaining counter canter for a few strides on the long side of the arena, making a transition at the marker before the corner.
- To ride this, imagine a gentle return to the track after the short diagonal. You may not be able to put your horse’s shoulders on the track at first, but don’t worry. Just aim for about a metre in from the track and let him find his way in his own balance.
Words of wisdom
Maintaining balance in counter canter is the first aim. On young or unbalanced horses, I give myself about a metre margin for corners and turns. If you attempt too steep an angle or get ambitious with the shape of your corners, you can disrupt your horse’s balance and things can get a bit wobbly.
Problem-solving
Most horses have a default evasion tactic if they struggle with counter canter. They may pop in a flying change, become disunited or break into trot. Here’s how to manage each situation…
He offers a flying change – lucky you! You’ll need flying changes as you progress further up the levels in dressage, so don’t discourage him. Just think of it as a case of bad timing, along the lines of ‘Not now, thank you’. Ask him to return to trot and calmly resume the exercise.
Your horse becomes disunited – horses can easily lose their balance and fall onto their forehand in counter canter, and this is a common reason for becoming disunited. Return to walk before asking for a canter transition. This helps to engage his hindquarters and re-establish balance.
Your horse breaks into trot – why he breaks into trot will determine the best response. If it’s because he loses balance, return to walk and make a direct transition to canter because this will help maintain his engagement. If, however, he breaks into trot because counter canter is a bit of a challenge and he’s a bit lazy, I’m afraid he needs a kick and to be put straight back into canter. If your horse is prone to being a bit lazy, try for shorter bursts of training with little rest breaks to help keep him sweet and entertained.
Anna’s top tip
Avoid any sudden moves or sharp turns in your newly-taught counter canter – focus on maintaining the balance and staying in canter. You can work on crisper shapes when you are more established.
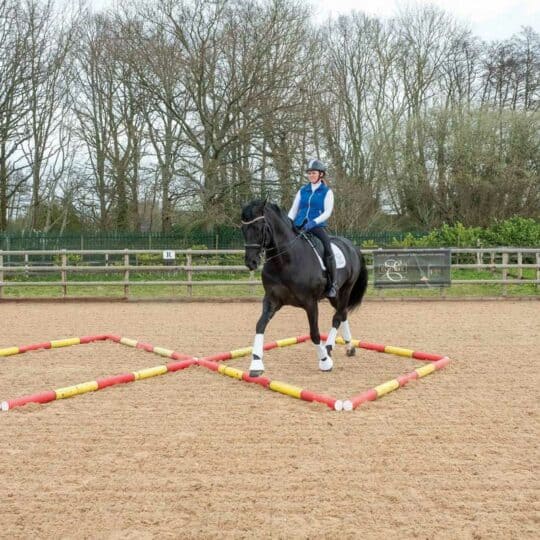
Exercise 3 – 10-metre half circles
Changing the rein through two half 10-metre circles is a move that starts to appear at Novice level. Judges have a great view of the centre line, so don’t throw marks away by wobbling across it or missing it entirely. Here’s how to perfect the movement…
- There are one or two straight strides in the middle of the half-circles on the centre line. Use them to quietly and smoothly change his flexion and prepare for the next bend.
- Look up to where you are going and focus on symmetry in your circles. This means working towards the same flexion, bend and shape on each half circle.
- Most horses have a stiffer side – for example, if your horse is stiff on the right rein, he will tend to fall right on both reins. This can make your first circle too big as he falls out and the second circle too small as he falls in. By working towards the same size and shape of your 10-metre circles, you can help your horse become more supple.
Anna’s top tip
Be very aware you don’t overshoot the centre line when doing 10-metre circles – the judge is watching and, because they’re sitting on the centre line, they will see every mistake!
Exercise 4 – Shoulder-fore
Just because you won’t find lateral movements in Novice level tests doesn’t mean you can’t start incorporating them into your training. You won’t do any harm by introducing shoulder-fore and you will see plenty of benefit. Here’s how to get started…
- Begin by riding a couple of perfect 10-metre circles in the corner of the arena. Then, just as his shoulders leave the edge of the arena, maintain the contact on your outside rein to keep the same angle through his body. At the same time, slide your outside leg back a little to support his quarters as you ride down the long side of the arena.
- Shoulder-fore has a 30° angle and looks from the front as if the inside hindleg is landing between the front legs. As you become more proficient, introduce shoulder-fore into trot and canter.
Why it works
Establishing shoulder-fore will help your horse become straight and take more weight on his inside hindleg.
Exercise 5 – Medium paces
Dressage judges are universally delighted when they see correctly ridden, well-balanced medium trot and canter steps. Good medium paces start with a horse who is straight and in front of your leg. With those ingredients, you can nurse medium paces out of even the most modest of movers…
- On the long side of the arena, begin by asking your horse to move forward for a few steps before half-halting and asking him to come back to the working pace. Repeat to build power into his paces.
- Avoid asking for too many lengthened strides because it’s easy for him to lose balance and drop onto his forehand.
- Practise medium strides on the long side of the arena or on a circle rather than on the diagonal. This will help to keep him straight through his body.
- When asked to show medium across the diagonal, imagine riding from quarter line to quarter line, rather than trying for a long stretch of medium and risking losing balance.
What does medium feel like?
When your horse starts to take medium steps, it feels like you are going quicker, but your horse’s legs are going slower. This is because he is taking longer steps and covering more ground with each one.
Top tips
- Take time to prepare for medium steps – ensure he is straight and ride a half-halt to check he is on your aids and focused.
- Medium paces aren’t binary – build up the power with tiny forward and back movements to ensure he stays balanced and doesn’t break or fall onto his forehand.
- Lots of horses go crooked as they move towards medium canter, even just imagining shoulder-fore can help keep the hindquarters straight.
Your Comments
Related Articles

Newsletter Sign-up

Subscribe
Latest Issue
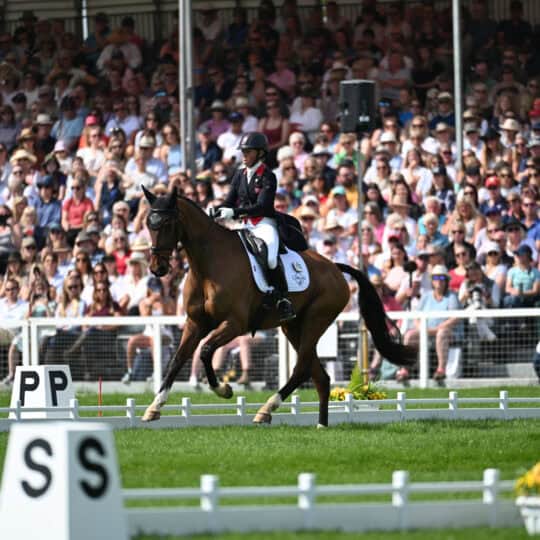
Ros Canter takes the lead after dressage
Added 10th May, 2024

Leading contender withdraws from Badminton
Added 7th May, 2024

Tania Grantham’s diamond pole layout exercise
Added 27th October, 2022
Dressage to music – prelim level
Added 28th June, 2022