
Schooling plans for every horse with Michael Eilberg
Posted in Riding Schooling and Training Flatwork
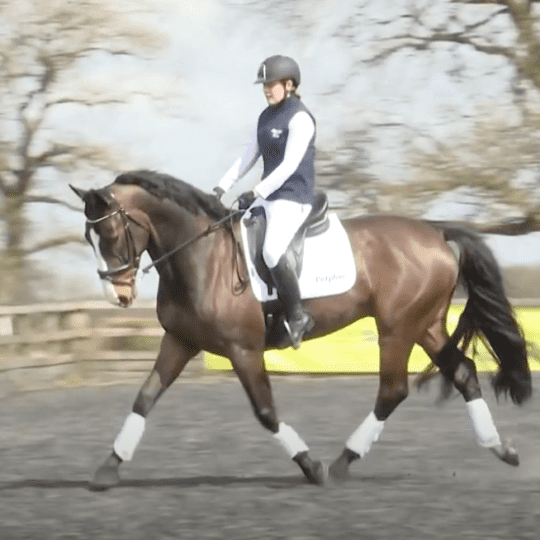
In the second part of our series, top dressage rider Michael Eilberg shows you how to make a schooling plan that benefits your horse, whatever his level
The secret to success is having a plan made up of broad-spectrum goals that reflect the long-term ambitions you have with your horse.
From day-to-day your schooling sessions can then focus on the smaller pieces of the puzzle needed to achieve the bigger picture. And while it’s fine to start each session with a specific goal in mind – for example, improving your leg-yield, if you feel as though your horse is lacking suppleness or his engagement could use some attention, then it’s important to adapt your plan for the day to centre around ironing out these issues rather than sticking rigidly to what you’d decided to do before you got in the saddle.
The aim is for every schooling session to make it easier for your horse to tackle the next level of difficulty. If you can contribute to his strength, engagement and self-carriage, you’ll help him tackle movements with ease, rather than teaching him that certain movements are hard work. This only leads to resistance.
Figuring it out
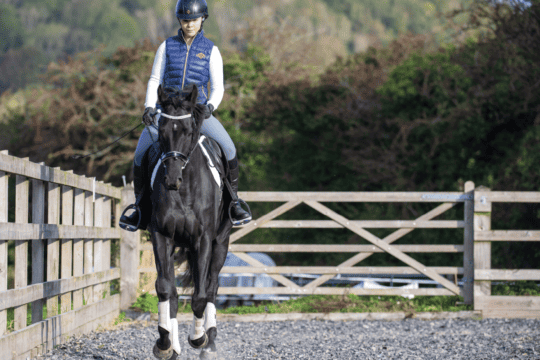
When I ride, I always begin with a basic structure of corners, straight lines and circles. How you approach each of these elements depends largely upon the level of your horse. With a young horse I tend not to worry about the corners, and focus instead on straight lines and large, inviting circles. At the other end of the spectrum, if you’re riding an experienced horse then the circles can become pirouettes. However, your priority at any level should be making sure your horse follows the line, whether that means staying straight on a straight line or bending evenly through his body on a circle. If you keep it simple and focus just on this then you can start to identify whether he’s prone to falling in or out, and you can also identify his stiffer and more supple sides. This is the first step to improving these things.
Once your horse is consistently able to move from a straight line to a circle without losing balance, he’ll also have a good foundation from which to work on more advanced movements. The straightness, suppleness and balance he’ll have learned will set you up to be able to add shoulder-in and leg-yield to the mix, as he’ll be naturally half-halting and working in self-carriage.
In his stride
Horses operate very simply in nature – they engage for a short period of time to get from point A to point B, then they stop. It’s not a sustained period of engagement like you ask for under saddle, so your horse has to learn how to maintain that level of energy output. This comes from a shift in his balance – if you can shift his weight onto his hindquarters, then he can start to lighten his front end, carry himself and engage.
Put in your place
As a rider, it’s really important that you hold yourself accountable for the effect your riding has on your horse. The most common problem I see is that riders don’t know the size of the circle that they’re riding. They may flit back and forth between a 10-metre circle, a 12-metre circle and a 15-metre circle without any real intention or reason to – they just know that they meant to ride a small circle. Good riding requires forward thinking, so decide the size of the circle before you ride it and use visual cues to get it exactly right. If you’re struggling, use poles to mark out the dimensions. Get in the habit of precise riding and you’ll see the results reflected in your test scores.
Just as your horse has a stiffer side and a more supple side, you almost certainly have a tendency to one-sidedness. If you’re aware of this, you can compensate by trying to get the same feeling on both sides. In any test, at any level, you’ll have to ride each movement on both reins, so don’t throw away marks for a movement you can do well just because you’re on your bad rein. Remember that your position has a huge influence on your horse’s position – you need to be matching the curve of his back, and sitting in the right place on a curved line or a circle and in the middle of his back on a straight line.
Michael’s expression-building exercise
- Great for: Horses who need some sparkle in their paces
- How to ride it: Expression is something you can only really begin to work on once your horse is truly supple. If you try to ride for expressive paces on a horse who’s a bit stiff or not well-balanced, then he’ll come against your hand, lose rhythm and fall onto his forehand. The key is to work in stages – add some impulsion, then supple your horse within that, then add more impulsion, supple him again, and so on. To get the correct feeling, think about making your horse’s pace and positioning really manoeuvrable. It’s easy for him to have a high head carriage and a short stride or a long and low neck and a long stride, but can you shorten his stride while his neck is out? Can you lengthen his stride when you’re working on a shorter contact? Ride him as though he’s a gymnast – stretch out and work all the various parts of his body.
- What it does: This will help your horse energise his hindlegs and make him more responsive to half-halts, while increasing the power and teaching him how to carry it himself. Making changes to your horse’s positioning, gait and rhythm will increase his confidence in using that power, without overwhelming him.
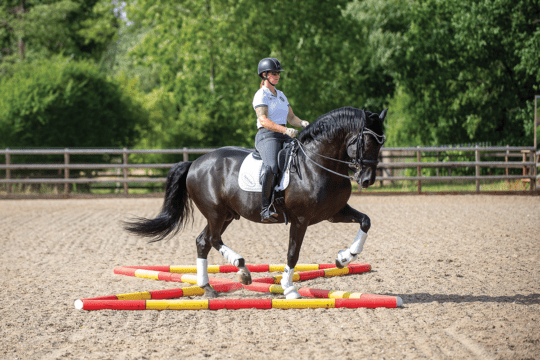
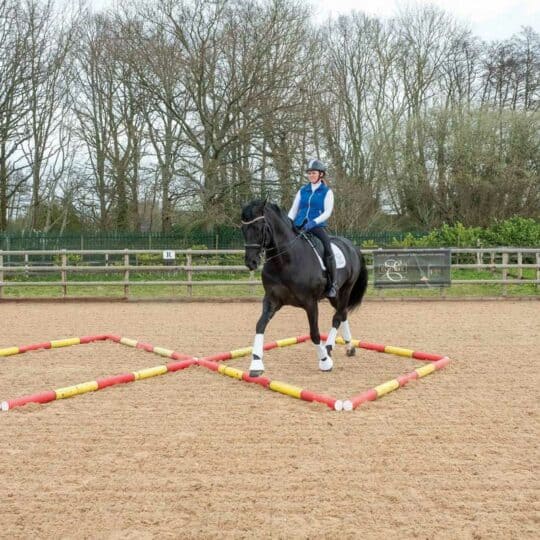
Michael’s lateral exercise
- Great for: Riding correct lateral movements and teaching half-pass
- How to ride it: Set up a line of poles along the diagonal. Establish a balanced trot or canter and turn onto the diagonal, keeping the poles on your outside. With each step, ask your horse to bring his hindquarters further from the poles, until he’s travelling with his body parallel to the long side of the school.
- What it does: Using the poles as a guideline gives you structure when schooling lateral movements. It helps you to identify if you’re prone to asking for too much neck bend, or if your horse tends to lead with his quarters. It also gives you the correct amount of direction so you don’t end up trying to push him sideways with little to no forward motion. This consistency will help you both learn the correct feeling, which you can then use to ride the movements correctly without guide poles
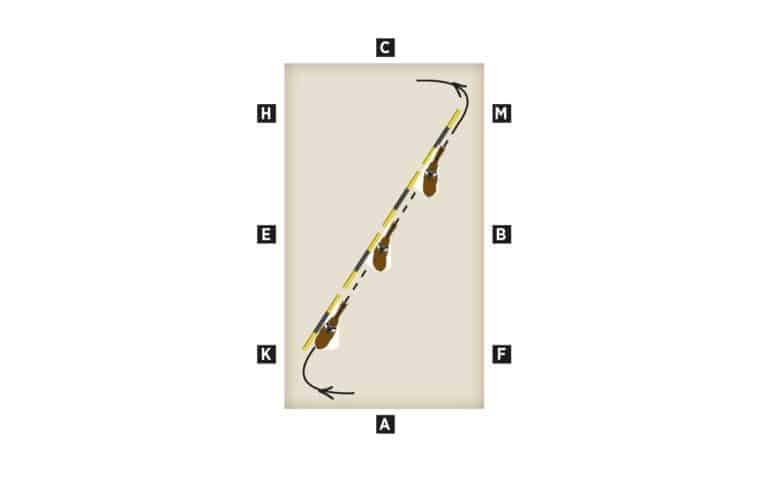
Top tip – This exercise can also be adapted to help with leg-yield if your horse tends to rush and not get enough sideways motion. Leg-yield along the poles, focusing on your horse’s straightness.
Top tip – When riding leg-yield or half-pass, many people fall into the trap of pushing their horse sideways at the expense of riding forward. It’s really important to keep your horse moving forward, soft and round, then add the lateral movement in. Don’t just let him shuffle sideways without travelling up the arena.
Web extra – For more of Michael’s top tips and to watch these exercises in action, visit: bit.ly/EILBERG_LATERAL
Your Comments
Related Articles

Newsletter Sign-up

Subscribe
Latest Issue
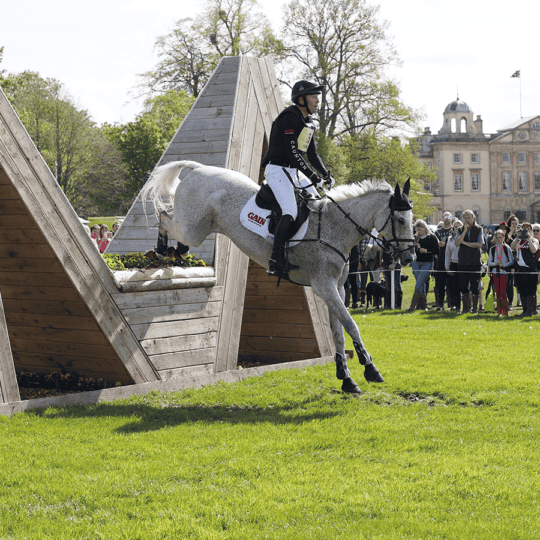
Brilliant Badminton
Added 22nd April, 2024
BRC secures SEIB sponsorship for further two years
Added 5th April, 2024
Tania Grantham’s diamond pole layout exercise
Added 27th October, 2022
Dressage to music – prelim level
Added 28th June, 2022