-
Riding Schooling and Training
-
Health and Veterinary
-
Management
-
Mind Matters
-
Buying and Selling
-
Insurance Advice
FAQs


Is your horse lacking connection in his schooling? Tina Cook helps you get him engaged and going better than ever
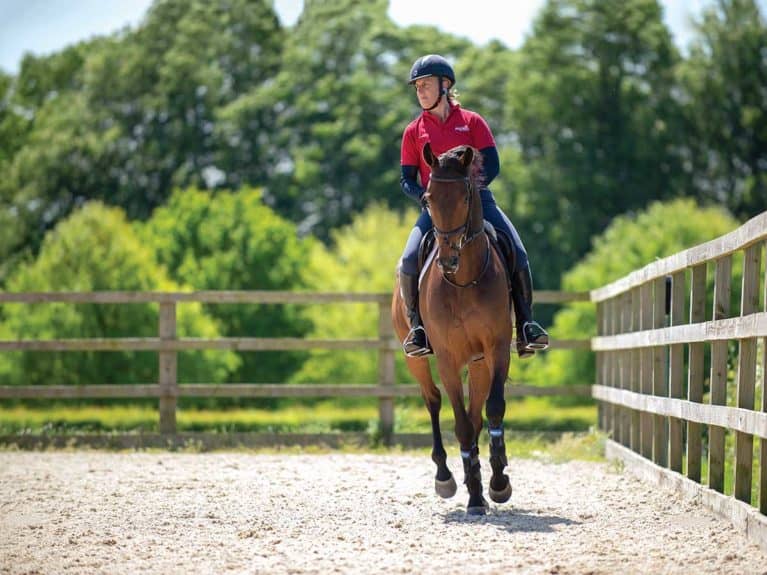
It’s one of the main aims of every rider’s schooling session – to get your horse working comfortably and correctly – but to really get him going well, you’ll need to have the basics firmly locked down.
One of these basics is establishing engagement, but in order for your horse to bring his hocks underneath his body and work in this way, he must first be relaxed and supple over his topline. If you find he’s not working through correctly, it may be that there’s a disruption somewhere along the way. While this is common in many types of horses, it’s seen a lot in ex-racehorses coming out of training as well as horses who are young or inexperienced.
It’s so important that you establish some exercises to help him to strengthen up his lumbar muscles that support his topline and improve suppleness. Here are some straightforward exercises to get your horse moving better than ever.
Warm up your horse well
Begin your warm-up in walk with some figures of eight to ensure your horse is working evenly in each direction. Many horses have a stronger side, but you should make sure he’s working evenly before moving up into trot.
Your warm-up is the perfect time to establish whether your horse is listening to your aids – either for flatwork or jumping, it’s important that, even at the start of your ride, he’s tuned in to you. This is especially important if you have a spooky or inattentive horse, as he needs to understand that when you put your leg on, it means he needs to pay attention to you and go forwards.
Keep your calves in contact with your horse’s sides. If you put your leg on and he goes forward, reward him – this helps him to understand what’s right. If you give him a squeeze and nothing happens, give him progressively stronger leg aids until he does react, then give him a pat so that he knows he’s offered what you’re asking.
If your horse rushes forward, don’t fall into the trap of immediately taking your leg off – keep your leg in contact with his sides regardless, so he doesn’t learn to see it as a tool for telling him off that he should run away from.
Top tip
When riding these exercises, spurs can be useful to ensure your horse doesn’t go numb to your leg aids. However, having a go at these without them will allow him to get used to your leg being wrapped around his sides without tensing, resisting or shooting forwards.
Putting your leg on
To be able to keep your leg in contact with your horse’s sides, you may need to adapt your position slightly and get used to taking your knee away from the saddle. This is especially true with smaller-framed horses, so make taking your knee off and stretching your leg down part of your own warm-up routine.
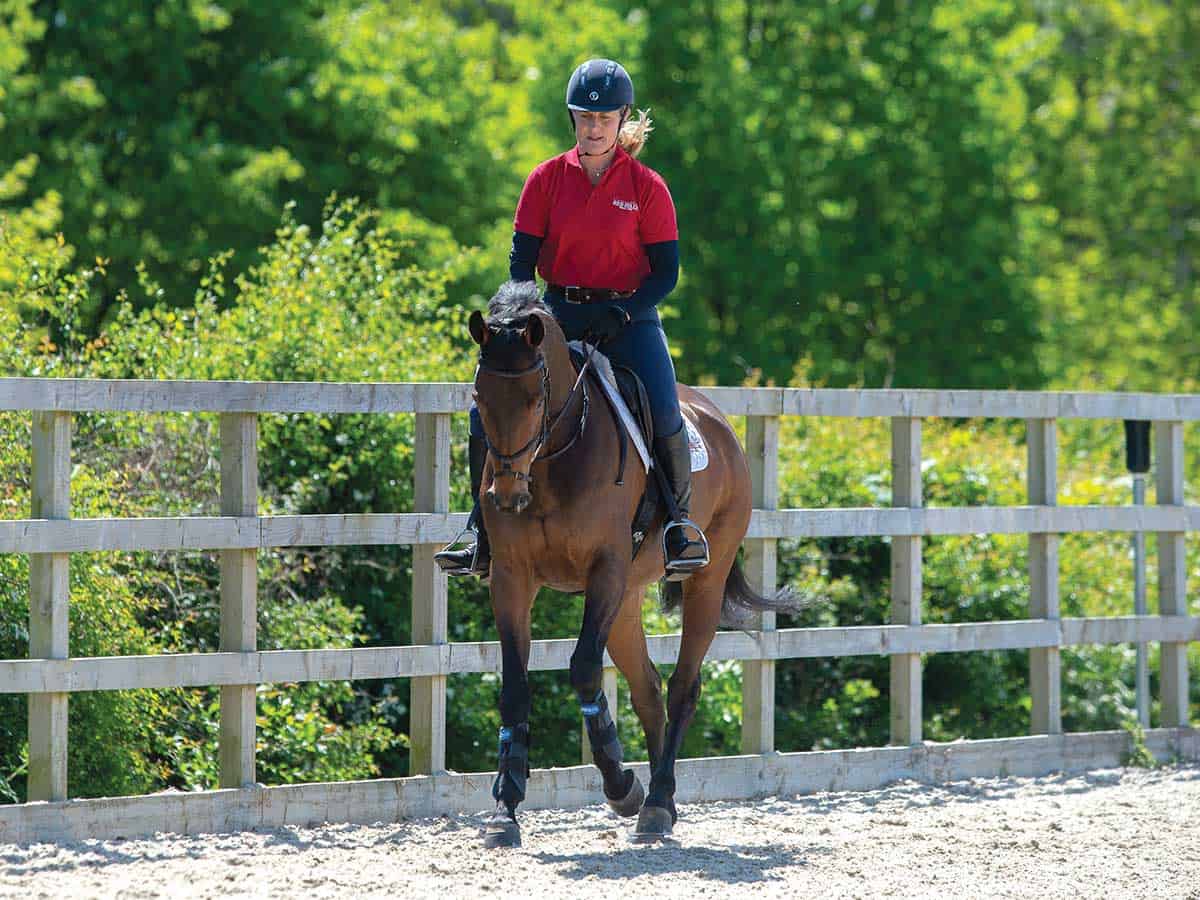
Lateral work
Once your horse is working evenly on both reins, think about introducing some lateral work to develop the suppleness to bend through his neck. Start by simply asking for flexion going down the long side of your arena, so he’s got the security of the wall to keep him straight.
By applying light pressure with your inside rein, ask your horse for some neck flexion for five or six strides, before riding him straight for the same number of strides, then asking for flexion again. You could even ask for a few strides of counter-bend.
Your leg aids ask your horse to keep his body straight, while at the same time your rein asks for some flexion. This will help you build up to leg-yielding – and one day to more technical lateral movements such as shoulder-in and half-pass – but at the moment you’re instilling the basics so your horse is in front of your leg, you can put your leg on and you can place his neck where you want it.
When your horse understands what it is you’re asking for in walk, progress to trot, and then canter.
Top tip
If your horse reacts abruptly to leg aids and rushes forward, allow him to run on a little before steadying him up. He’s responded with a forward reaction, which is what you’re asking for, but next time ask with a softer aid for a more refined response.
Asking for leg yield
To introduce leg-yield and teach your horse to step away from your leg aids, first bring him onto a 20m circle.
Begin in walk, continuing to ask your horse for some flexion. Position your hand away from his neck – a common mistake riders make is positioning their hand at their horse’s neck or even on the other side of his wither, towards the outside, but this can be restrictive and will block his movement. Apply your inside leg at his girth to extend the curve through to the rest of his body. Progress this to trot as he becomes balanced.
Once you’re happy with the bend he’s offering, move onto leg-yield. Work him on a 15m circle and ask him to spiral outwards to a 20m circle. Give him a nudge with your inside leg to ask him to step outwards. If he doesn’t listen, give a sharper leg aid. Maintain the contact in your outside rein, and keep your outside leg at the girth to maintain his body shape and keep him moving forwards.
Once he understands the exercise in trot, try it in canter. The size of your circle will depend on how difficult he finds it – the larger the circle, the easier it’ll be. The main purpose is to increase suppleness through his body, so focus on keeping him relaxed and moving forwards.
Top tip
To ensure your horse is working evenly in both directions, change the rein every couple of circuits using a demi-volte.
Troubleshooting tips
If your horse doesn’t understand what you’re asking him, come back to it later – don’t insist to the point that you fall out. Find a different way to ask him the question that might be easier for him to execute – perhaps on the other rein.
Long-and-low
Another technique you can use to improve your horse’s suppleness is working him long-and-low. When ridden correctly, this type of frame will encourage him to use his core muscles, and while performing it, he should stay off his forehand, in balance and engaged.
Keeping your leg on to encourage your horse to move actively, encourage him into a long-and-low position. Give slightly with your reins and ask him to stretch down with little wiggles of your fingers, then keep your hands still. Let your horse seek the contact and, as he starts to reach down, allow your reins to slide through your fingers without throwing them away completely. As he brings his head down, keep your hands still to reinforce that he’s doing what you’ve asked.
Your horse should maintain his own balance by carrying himself through his back and topline rather than leaning on you, and you shouldn’t be holding his head in one place, as this would make him more likely to trip or fall. To test his balance, take one hand off your reins – he needs to be maintaining his position and supporting himself, rather than relying on your contact for stability.
Another way to test this is to push your hands further up his neck to ease the contact – you’re seeking a similar response from him as before. He might drop his head slightly as he continues to seek the contact, but he should still carry himself.
Top tip
To avoid your horse coming behind the vertical during long-and-low work, make sure you’re keeping him active. Think of encouraging his head and neck down and forward rather than just downward.
Pole work
Set up four poles in your arena – one each at X and A, then two poles running parallel to the track on the three-quarter lines. The aim is to use the poles in as many ways as you can, riding lots of turns and bending in each direction to keep your horse on his toes. Here are a few exercises to try…
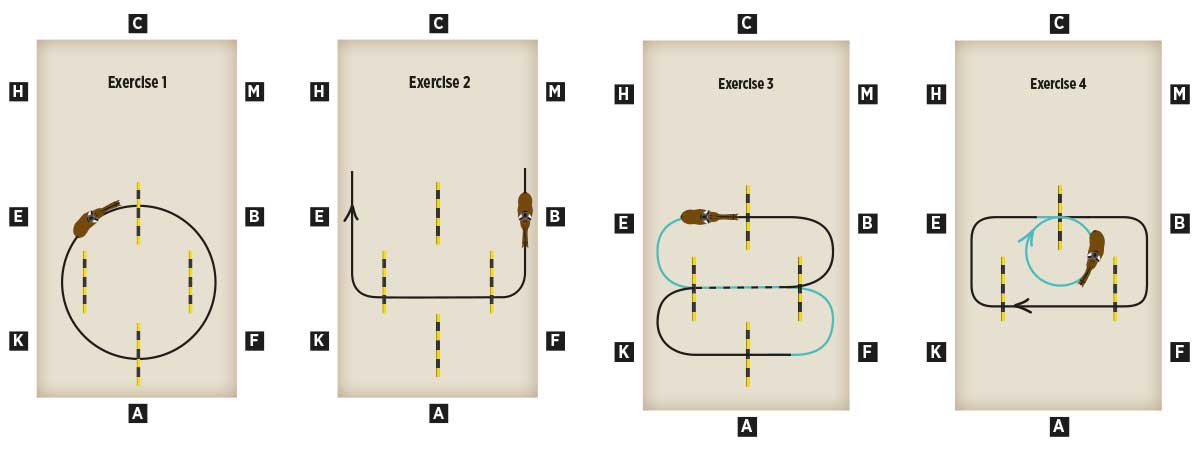
1. Ride over the two poles on the circle at X and A so your horse gets accustomed to their position. Maintain his roundness and keep control of his shoulders. Increase or decrease the size of the circle depending on how balanced your horse is.
2. Ride over the two poles parallel with the track on the three-quarter lines. With no set striding between the two, you can teach your horse to adjust his canter to meet the poles comfortably. Fit in as many strides, then as few, as you can.
3. Using all four poles, ride a figure of eight over the set-up. The turns might be tight, so this could take some practice.
4. Ride a few small circles over the pole at X, before taking your horse down the three-quarter lines and over those poles, too.
Top tip
Once your horse is comfortable working through the sequences, count the number of strides he gets between poles. Aim for one more or one less the next time you approach them while remaining in balance. This’ll teach him to think about where he puts his feet.
Why not try?
To add some variety into the exercises and ramp up the difficulty, raise the poles or make them into very small fences. Though the poles on the ground are just as effective, switching them up will give him something new to think about.
Flying changes
If you’re looking to ramp up the difficulty, use the poles to ask for a flying change. Approach the pole on the right rein, applying the aids for a change…
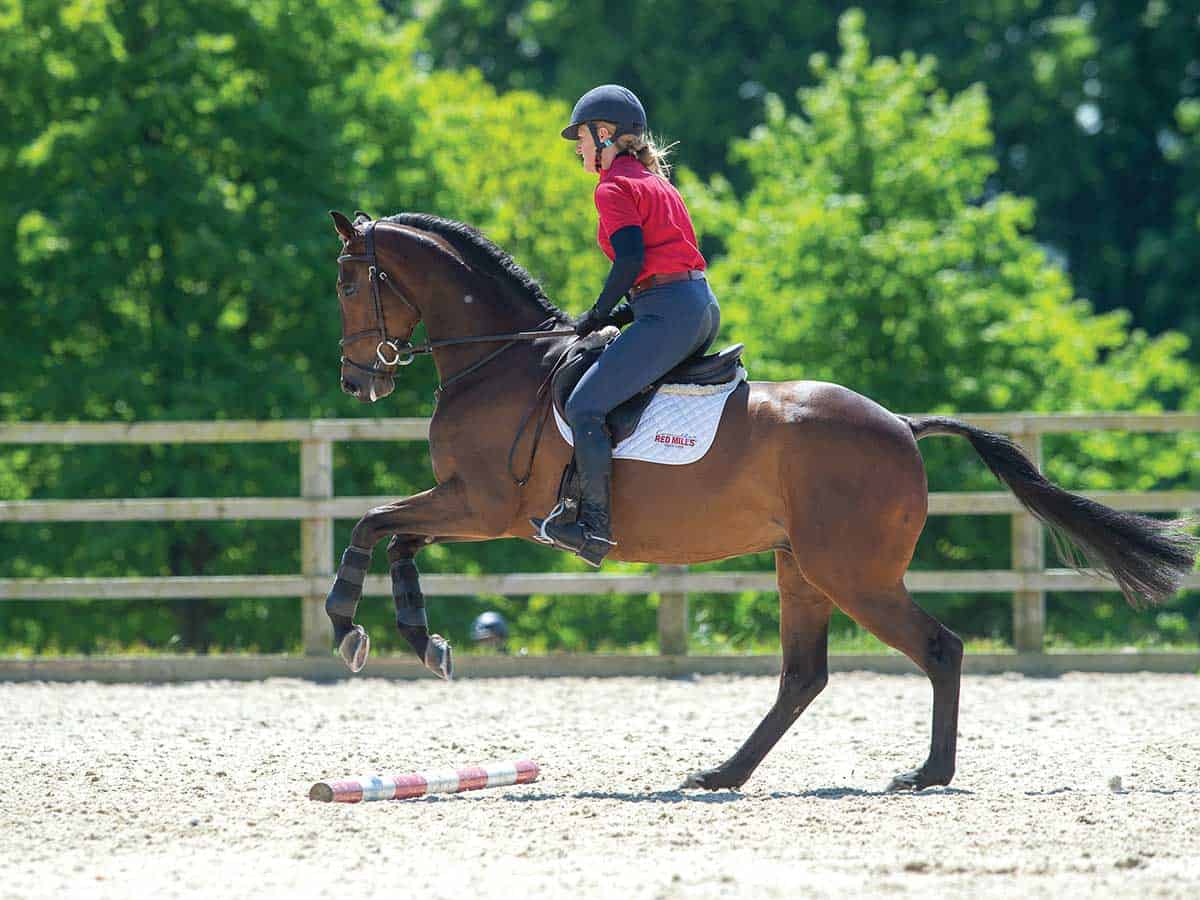
- left leg on the girth, asking your horse to move forward
- right leg behind the girth, to activate the new outside hindleg
- close your right hand into a fist, using it as a balancer as you apply the aids
- soften your left hand, allowing your horse space to step underneath himself
If your horse becomes disunited on landing, encourage him to keep going and fix it himself. Turn him on a circle to give him the chance to re-approach the pole and sort his legs out. The key is to keep him moving forward as he’ll find it easier to rebalance.
Top tip
If your horse gets it wrong, keep calm and repeat the question. Bringing him round again will give him another attempt to figure out the question. Ultimately, he needs to work it out himself, so by doing this you’re teaching him to think.
With thanks to Connolly’s Red Mills for their help with this feature, redmills.co.uk
Lay the foundations for cross-country confidence with Tina Cook’s top tips here.