-
Riding Schooling and Training
-
Health and Veterinary
-
Management
-
Mind Matters
-
Buying and Selling
-
Insurance Advice
FAQs

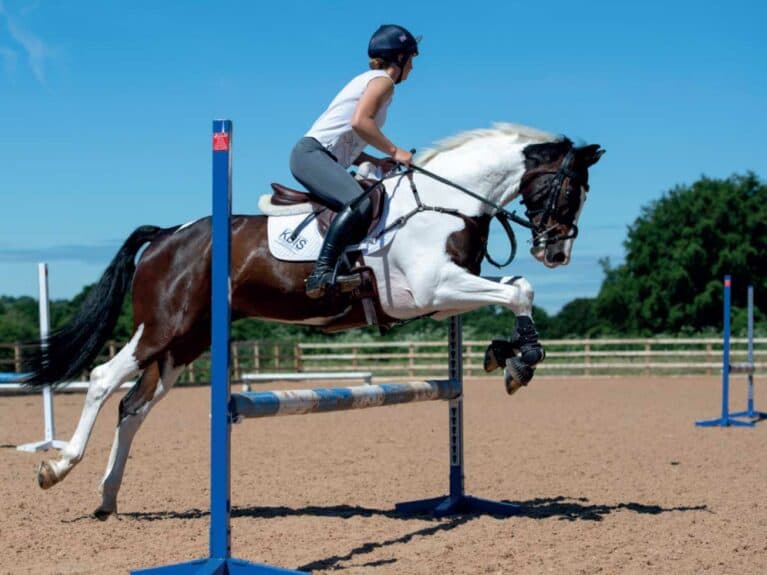
Having trouble with your take-offs? Our ideas will get you back on track
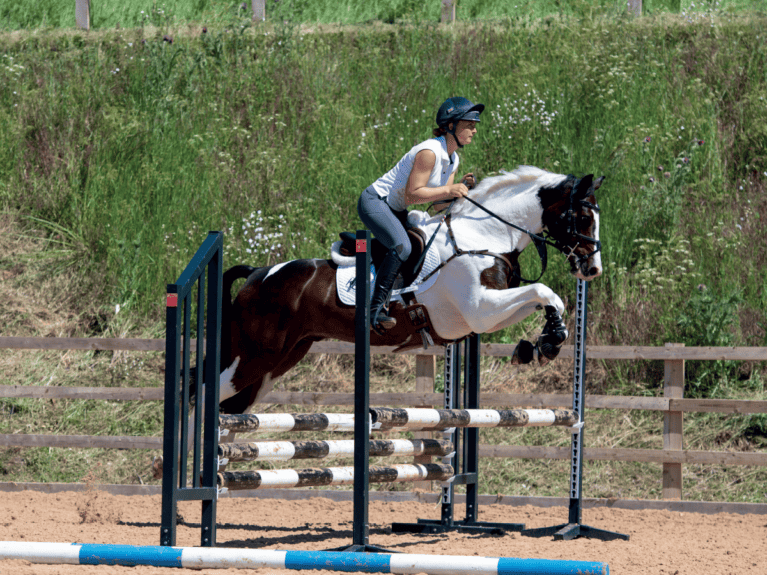
Tried and tested by professional riders every day, these tips and exercises will develop your ability to arrive at fences on the right striding and, in turn, give you the skills to jump more clear rounds.
Before you start
Consider the following…
- don’t become hung up on seeing a stride. The more you look for one, the less likely you are to see it
- horses are generally good at getting themselves out of trouble, so if in doubt, focus on having an even rhythm and let your horse work things out!
- don’t forget to use your leg to keep activity in the hindquarters – your horse’s engine
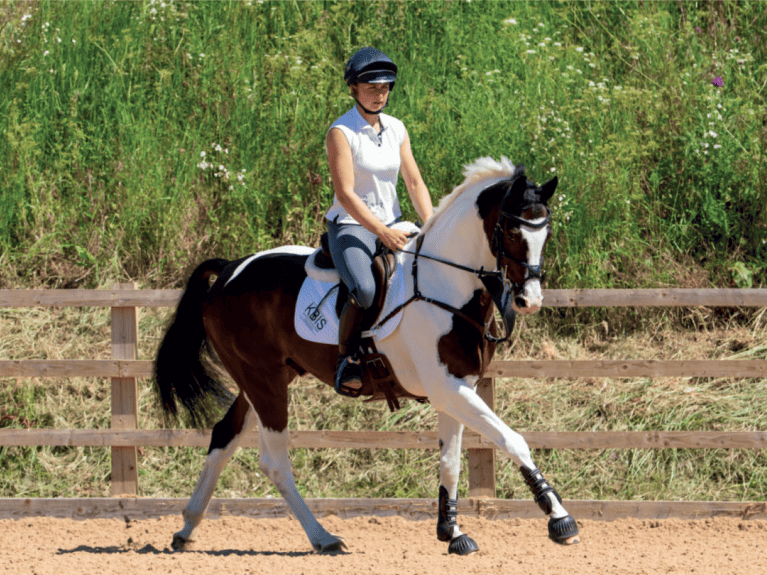
1. Get the best canter
The most common reason for finding it hard to see a stride is because your horse’s canter isn’t even, balanced and rhythmical, so use your warm-up time to work on this.
Work on developing a canter in which your horse is working actively forward from his hindleg with plenty of lift, staying in good balance and showing a clear three-beat rhythm.
Don’t confuse speed with energy, though. If your horse goes faster when you ask for more activity, spend time working on the canter by riding him through changes within the pace. Ask him to go bigger for half a circle, then collect for a few strides and repeat, quietly correcting him if he breaks into trot.
Top tip
In a jump-off or when riding cross-country, you’ll have more technical jumping lines to deal with, but leave those until you’re confident you’ve got to grips with striding.
2. Practice over poles
Place two poles five strides (20m) apart. Approach in canter and maintain your rhythm between the poles (adjust the distance to suit your horse if needed).
Once you’ve nailed riding through on five strides, try shortening and lengthening over the poles, aiming for six and four strides.
By regularly incorporating this exercise, you’ll soon find your horse’s canter becomes more adjustable and your ability to see when he’ll take off will improve, too.
Top tip
If your horse rushes into fences, avoid pulling on the reins to slow him down. Instead, sit quietly and let him learn to take responsibility for his own balance.
Did you know?
When counting strides between poles or fences, don’t count the landing stride. Wait for your horse to land and count from there
3. Jump on a circle
Set up a small upright on a 20m circle, then pick up canter and stay on the circle, incorporating the fence.
On landing, count the number of strides your horse does before he takes off over the fence next time, then keep riding in the same way, aiming to have an identical number of strides each time.
Ride the exercise in both directions. If you’re struggling to stay on a 20m circle – for example, if your horse is falling in or out – place cones on the open sides of the arena to give you markers to aim for.
4. Get the right line
A balanced turn will help you maintain quality in the canter and hit that perfect take-off spot.
Think about…
- giving your horse plenty of time to see the fence and to work out what he needs to do to jump it well
- turning onto a line that’s perpendicular to the jump
- opening your inside hand slightly as you make your turn, while supporting with your outside rein and leg to stop him falling through his outside shoulder
Did you know?
An extra canter stride is roughly four human steps, making it easier to measure distances during schooling sessions.
5. Canter over cavaletti
Cavaletti have so many benefits, such as developing your horse’s balance, suppleness and activity in the canter, and improving your own sense of timing. Plus, they’re great fun!
You’ll find numerous cavaletti exercises online but we’ve kept it simple with this one…
- place three cavaletti (or small fences) along the centre line of your arena, set at bounce distance (roughly 3–3.5m)
- establish your best canter, then ride over the cavaletti, noting how they become part of your horse’s canter stride
- repeat the exercise, changing the rein each time, so you approach them from a different direction on every attempt
- to make the exercise more challenging, put your cavaletti on a circle. Begin by riding over the middle, then slightly more to the outside and then the inside, so your horse has to lengthen and shorten his stride accordingly
6. Count down the strides
As you start to feel more confident, put your new-found skills to the test…
- Build a small fence somewhere in your arena with a placing pole set 3–3.3m before it.
- Approach in canter, noting how riding to the pole on the right stride will automatically bring you to the fence in the correct spot.
- Next, start to move the pole further away from the fence, one stride at a time, using our guide (see box below).
- As the pole moves further away from the fence, count down – out loud – the number of strides your horse takes on the approach – five, four, three, two, one and take-off.
- The great thing about this exercise is the pole does the work for you, so you’ll already be on the correct striding and you’ll then start to develop more of a feel for it.
Know your distances
- canter poles: 2.7–3.3m
- placing pole when approaching a fence in canter: 3–3.3m
- one canter stride: 6.4–7.6m
- two canter strides: 10–11m
- three canter strides: 13.5–14.5m
- four canter strides: 17.3–18.2m
- five canter strides: 20–22m
Your Comments
Newsletter Sign-up

Subscribe
Latest Issue
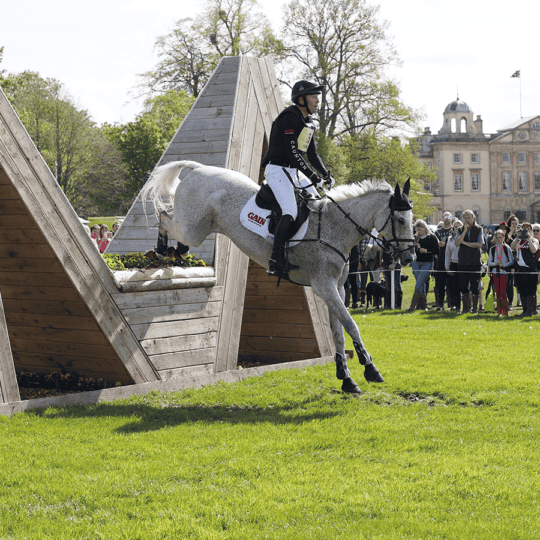
Brilliant Badminton
Added 22nd April, 2024
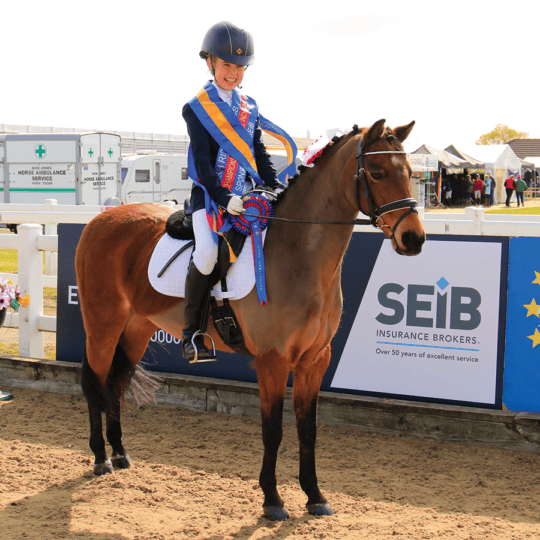
BRC secures SEIB sponsorship for further two years
Added 5th April, 2024
Tania Grantham’s diamond pole layout exercise
Added 27th October, 2022
Dressage to music – prelim level
Added 28th June, 2022