-
Riding Schooling and Training
-
Health and Veterinary
-
Management
-
Mind Matters
-
Buying and Selling
-
Insurance Advice
FAQs


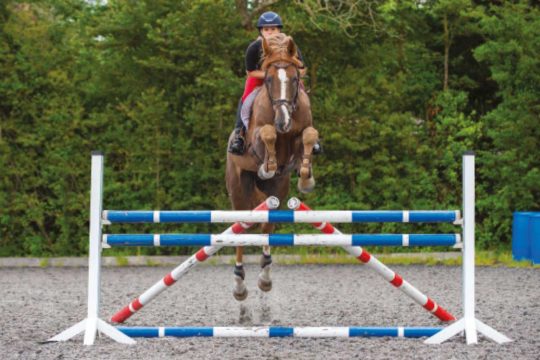
Whether you’re a jumping afficionado or new to leaving the ground, there’s never any harm in a quick reminder of how to stay safe over fences – find out how with H&R
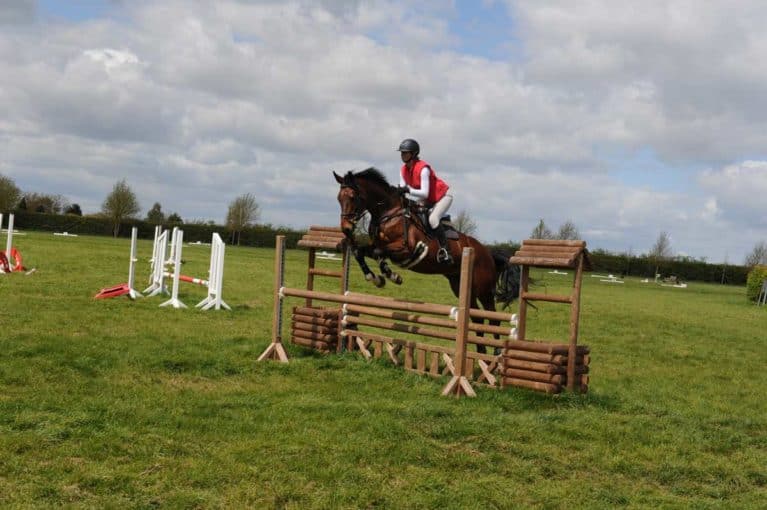
Is there anything better than the adrenaline of the cross-country course or testing twists and turns of the showjumping ring? The team here at H&R certainly doesn’t think so. But ensuring you and your horse stay safe while enjoying the thrill of clearing fences is paramount to making sure you both have the most possible fun. Safe jumping begins before you even think about leaving the ground, but what do you need to remember?
TOP TIP
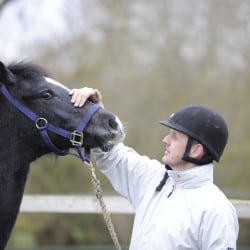
A good place to start is with your kit – make sure your hat’s up-to-date with the current standards and fits well. If you’ve had a fall or dropped your hat onto a hard surface, it’s always best to replace because you can’t always see any damage from the outside.
First things, first
Flatwork’s an essential building block to developing your horse’s technique over fences and, just like your more technical training, a little work on the flat will go a long way towards keeping you safe, too. Control and confidence are important parts of enjoying jumping, and if you don’t have control on the flat you certainly won’t over fences. By working on your horse’s responsiveness to your aids, you’ll feel more confident in the control you’ll have on the flat as well as in the ring.
Here are a few exercises to get you started…
- transitions Begin with transitions between the paces. Does your horse respond to your aids as soon as you ask? If not, make a different transition between the paces at each letter around the arena until your horse feels like he’s more attentive. Gradually build up to performing transitions on the approach and getaway to poles – can you halt in a straight line three strides before the pole and again three strides after? Eventually, you should feel able to make a transition from canter to trot – or vice versa – on the approach to a fence, but always make sure that you have enough activity in whichever pace you decide to jump from
- alternative aids Rather than relying too heavily on your reins, why not put your other aids to the test? Can you make a 90° turn with only your upper body and legs? Can you ask your horse to walk with just your voice and seat? If this is all new to you or your horse, begin by using your voice, seat and legs in conjunction with your normal aids to help him understand what you’re asking, gradually reducing the original aid and replacing it with the new ones. This will take time, so don’t expect instant results, but a little practice will leave you with a super-responsive ride
- twists and turns Your horse should be so attuned to your aids that he responds to a change in what you’re asking immediately. A great way to test this is by setting out poles at random around your school and working through a course in walk, trot and, eventually, canter. You should be able to change up the sequence, ride a circle or change the rein smoothly and effortlessly. With a little practise, your horse will learn that he can’t anticipate what you’re asking and become more fluid and responsive to your aids
TOP TIP
If you’re at all worried about jumping, it’s always worth putting on a body protector or air vest for a little extra support and to give yourself a safety net.
All the gear
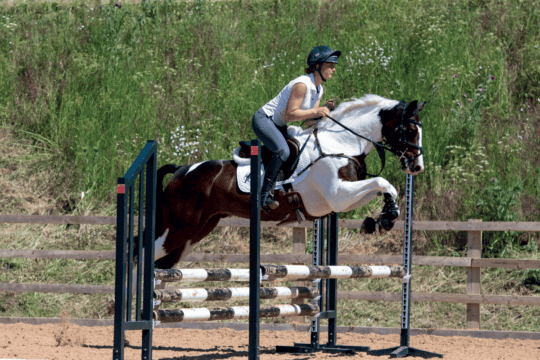
Ensuring your kit is in good condition will help keep you safe over fences, too. Regularly check your jump wings, cups and poles for signs of wear or damage and, if you use wooden poles, rotting. Sturdy, well maintained fences will hold up better to frequent use and pose less risk to your horse should anything go wrong. Always point the peg of your jump cup away from the direction you’re jumping in to make sure it doesn’t come out should the wing fall over, and try not to leave cups on the floor where they could be trodden on.
Safe set-up
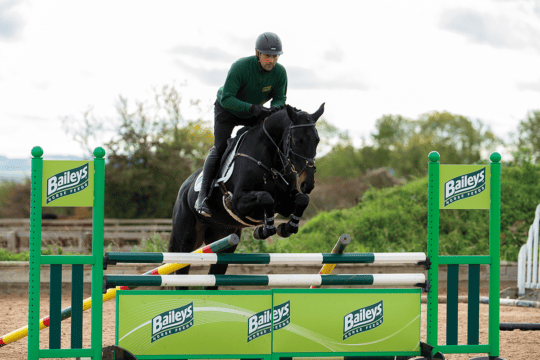
Building and jumping fences in a safe way drastically lowers the risk of injury to you and your horse, as well as reducing the likelihood of you having a scare and losing confidence. Here are a few tips to keep you on track…
- always jump fences in the direction they’re flagged or numbered – particularly on the cross-country course
- don’t build descending oxers because they can be deceptive for your horse
- be aware of the surface on the approach and getaway to fences – is it particularly wet, deep or rutted?
- if you’re at home, make sure the area you’re jumping in is safe and secure. If you go schooling or for arena hire, check that gates are kept shut if possible
- look at anything that might cause your horse a distraction or to misread the fence. Shiny surfaces, water and moving from dark to light – or vice versa – can be trickier for your horse to understand
- try not to build your fences with too much of a gap between the ground and the top pole – fill in with another pole or use a groundline to help your horse understand where to take off
- start small and build up. Rushing through the heights will only result in an accident, so take your time to build you and your horse’s confidence at the lower levels before making the step up – it’s always better to jump smaller and get everything right than lose your technique over a bigger fence
- if you’re having any doubts or need a little support, you can always call your instructor for advice or to book a lesson to set you back on track
Your Comments
Newsletter Sign-up
