-
Riding Schooling and Training
-
Health and Veterinary
-
Management
-
Mind Matters
-
Buying and Selling
-
Insurance Advice
FAQs
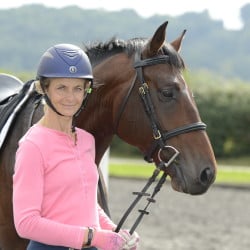
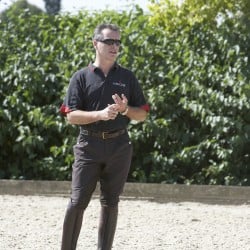

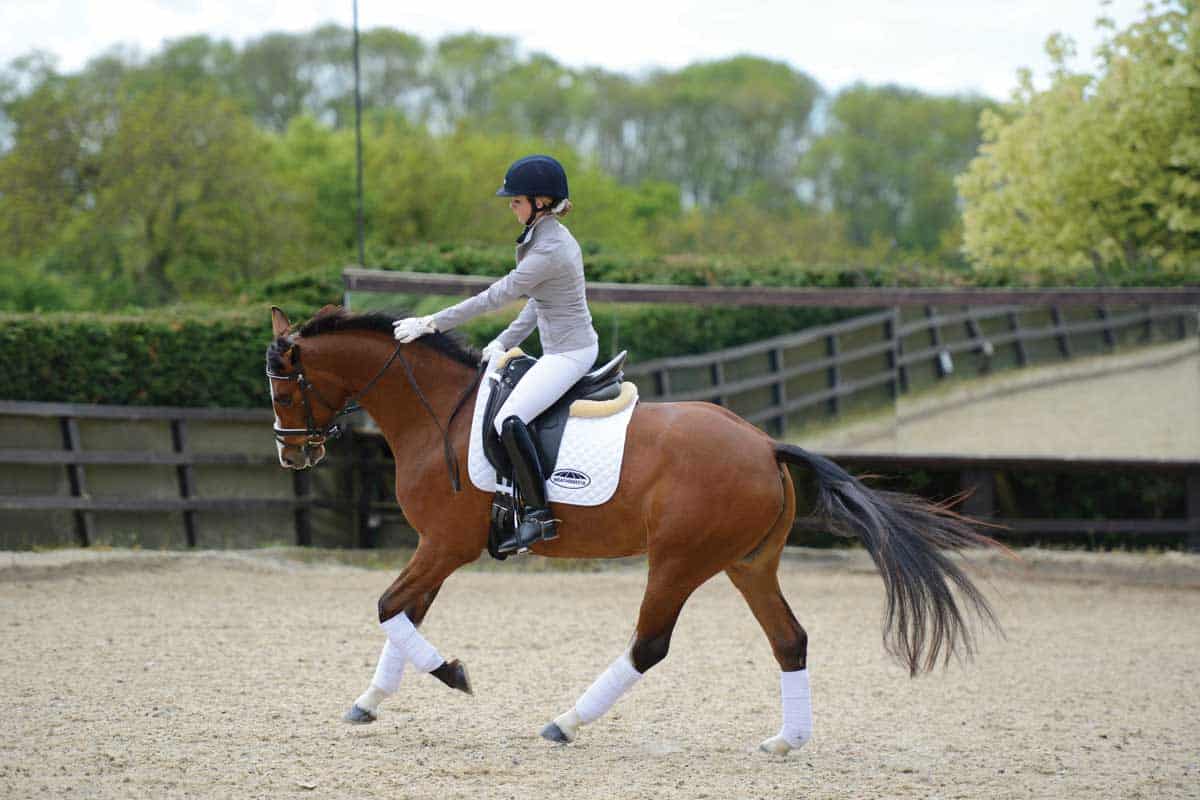
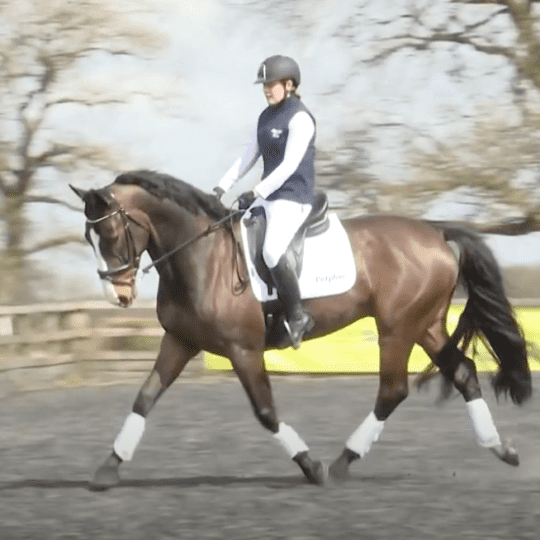
Knowing when your horse is working correctly can prevent you resorting to recovery tactics with your riding. Dressage rider Paul Friday shows you what to look for
Riding a horse who isn’t working correctly makes every movement a lot harder than necessary. Despite your best efforts, your riding will never look effortless. Take the time to focus on whether your horse is working correctly or not, and you’ll be able to prevent major problems occurring.
Your first step to assessing him is to establish a good contact, then find the frame length that suits him. Don’t just set the frame length and force him to work there, find the position that’s right for him.
Top tip – In a good contact, the bit should sit in the middle of his mouth, not in the top corners, so don’t let the bit rise to the back.
Points to avoid
When your horse isn’t going correctly you’ll notice that…
- he won’t be covering the ground efficiently.
- he won’t be stepping out far enough with his front feet.
- he’ll be tense in his mouth, so it feels like he’s fighting against you.
- he’ll be strong on one side.
- he’ll set his jaw and become tense in the neck.
- he’ll feel unresponsive to your aids.
- he’ll raise his head because he’s not in balance and is using your hand to help him balance.
Points to aim for
When your horse is going correctly, you’ll notice that…
- he’ll be in a consistent rhythm.
- he’ll be in a consistent contact.
- he’ll be in balance.
- he’ll hold himself in self-carriage.
- he’ll be relaxed but workmanlike in his pace.
- he’ll be level in the reins.
- he’ll be loose and swinging through his back.
- he’ll feel forward and free.
- you’ll be able to vary his frame length.
- he won’t be prickly or tight when you put your leg on.
- he’ll be accepting of your aids.
Exercise: Canter-trot-canter
Pick up canter on a 20-metre circle at E. Once you’ve established a good rhythm, make a transition into trot. After six strides, loosen your inside rein and pick up canter again.
Canter – Giving with your inside rein on the upward transition prevents him from using your hand to balance.
Trot – If you’re secure and balanced, rising to the trot will mean that he’ll find it easier to keep his back loose, especially if he’s inclined to hollow. With younger horses, encourage them to maintain a good trot rhythm by rising. When they’re more experienced, remain seated and focus on maintaining balance and frame shape.

This exercise helps you see whether your horse is anticipating your aids and can help improve your timing. Riding over the centre line will prevent him running or rushing forward and by making frequent transitions, you’ll be able to tell whether he’s in front of or behind the leg. If he’s behind the leg, he’ll respond slowly to the aid, which can throw you off balance.
Exercise: Spiral in and leg-yield out
Objectives
- Create flexibility
- Develop lateral movements
- Improve his balance
In rising trot, ride a spiral around X and once you’re at the smallest diameter, leg-yield out. By riding around X, you can adjust your spiral as you go. If you ride too near either end of the arena, you run the risk of having to flatten out your spiral, which will result in a loss of rhythm. Be careful, particularly with inexperienced or unbalanced horses, not to spiral down to a circle that’s too small for him. You’re looking for him to be able to bring his hindleg under himself easily. I find that 12 metres is the diameter at which most horses feel comfortable. Much less than this and he’ll lose his shape and carriage. The smaller the circle, the greater the flexion in his body, but beware of overflexion in his neck.
On the spiral in, use your outside leg and outside rein to guide him and your inside rein to show him the way. On the leg-yield out, use your inside leg to encourage his inside hindleg to lead, so that he moves out through his shoulder into his outside contact. Be careful to avoid overflexion, particularly when you spiral in. Ensure his poll and withers are straight and upright.
Exercise: Varying his frame length
Objectives
- Improve suppleness and swing
- Encourage stretch through his topline
- Develop adjustability
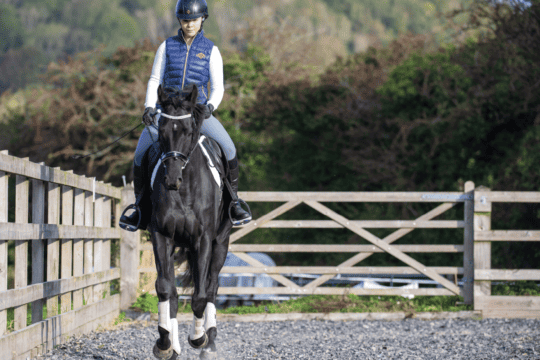
Pick up trot on a 20-metre circle at C or A. Your aim is to vary your horse’s way of going by riding between long-and-low and his competition frame.
In long-and-low, control his rhythm with your rise and aim for his nose to be just slightly in front of the vertical so that he stretches over his topline. This will make his neck stretch from his withers all the way to his poll.
To move into your competition frame, take up the rein step-by-step in order to maintain the same rhythm. If he’s behind your leg, he’ll lose impulsion when you remove the pressure from your leg. On a 20-metre circle, your horse is less likely to flatten out – you’re particularly aiming for his back to stay up and his neck to stay down. Keep equilibrium between your leg and hand by riding him from your leg into your hand.
This exercise can be ridden in either rising or sitting trot, but rising trot will give you more rhythm and control to begin with. If you’re going to ride rising trot, make sure you give the leg aid when you’re rising, not sitting.
Exercise: Serpentines
Objectives
- Ride straight on both diagonals
- Keep your position equal on both reins
- Avoid over-bending on the loop
Riding serpentines in trot is a really useful way to check that your horse is working correctly and evenly on both sides. The frequent change of rein means that you’ll quickly be able to tell if your horse has a stronger or preferred side. Be aware that it might be you who is stronger and less flexible on one rein, which will affect your horse, so make sure you’re maintaining equal weight in your seat bones, and you’re keeping your hands still and your shoulders square with his. You should hold your hands roughly where the second plait would be and they should remain level.
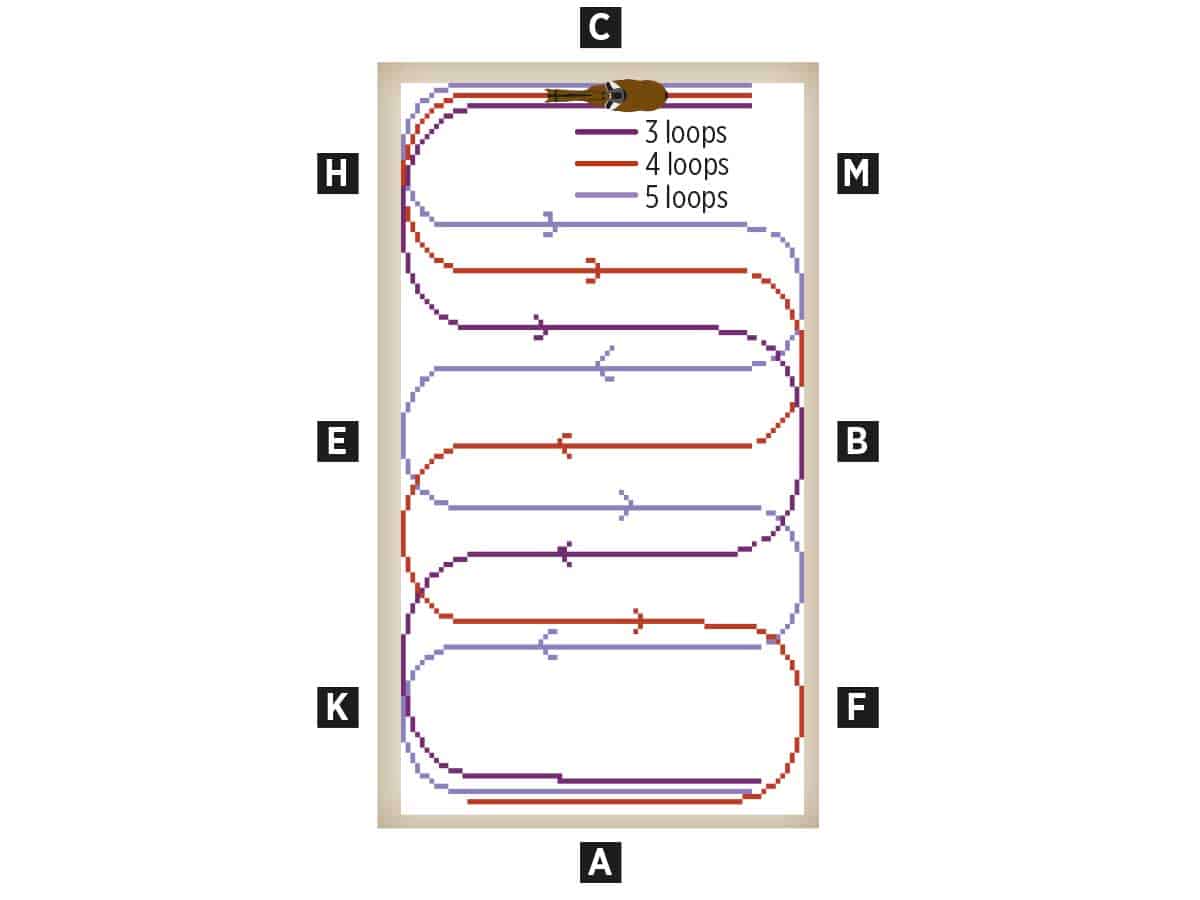
To begin with, start with a three-loop serpentine so that the angle of the turn is shallower. Once you’re happily changing direction, work up to four and then five-loop serpentines. Keep his poll and withers in line, and avoid asking for too much bend with your inside rein or you’ll lose him through his shoulder. Change diagonal over the centre line so that he’s straight.
Suss out serpentines
Throughout any serpentine, you’re looking for your horse to remain parallel with the short side of the arena.
- In a three-loop serpentine, you’re riding half 20-metre circles.
- In a four-loop serpentine, you’re aiming for half 10-metre circles ending at X.
- In a five-loop serpentine, you’re looking for the bulk of the serpentine to be on the letter that you’re riding towards.
Exercise: Give and retake the reins
Objectives
- Check to see if he’s carrying himself
- Encourage him to balance
- Allow him to work correctly
In this exercise, you’re aiming for your horse to maintain his frame shape despite you removing the contact. I like to ride this in canter, as horses can often hold their shape better in canter than in trot. Before giving and retaking the rein, balance him with a half-halt (close your fingers on the rein and release). Initially, give with your inside rein for no more than one stride and see how he responds. If he can maintain the same frame, you can take away the outside rein for the same length of time, too.
If you give your rein and he drops his nose and falls onto his forehand, close your legs around his body. It’s likely that he’s not strong enough to carry himself in that position. If he drops down into trot, it’s possible that he’s relying on you to hold him up, so frequent transitions and giving and retaking the contact can help you see if he’s carrying himself.
Goals covered
- learning to recognise when he’s working well
- understanding when he’s not working correctly
- encouraging him to carry himself correctly
- achieving an adjustable frame shape
- improving his responsiveness to your ridden aids
Your Comments
Related Articles
Newsletter Sign-up

Subscribe
Latest Issue

Horses, Hounds and Heroes
Added 2nd May, 2024
Spectacular international entries for Royal Windsor Horse Show 2024
Added 2nd May, 2024
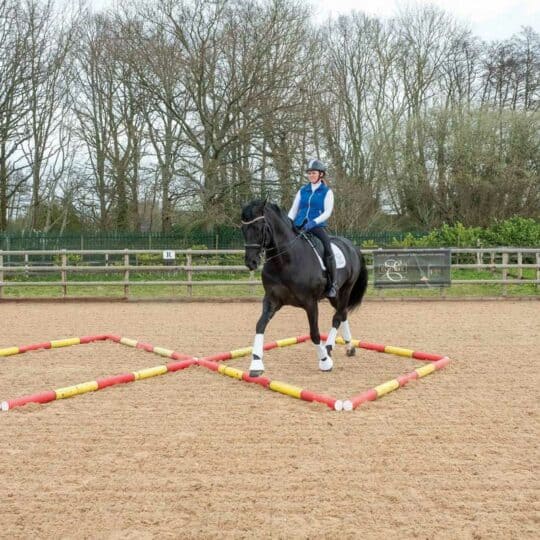
Tania Grantham’s diamond pole layout exercise
Added 27th October, 2022
Dressage to music – prelim level
Added 28th June, 2022